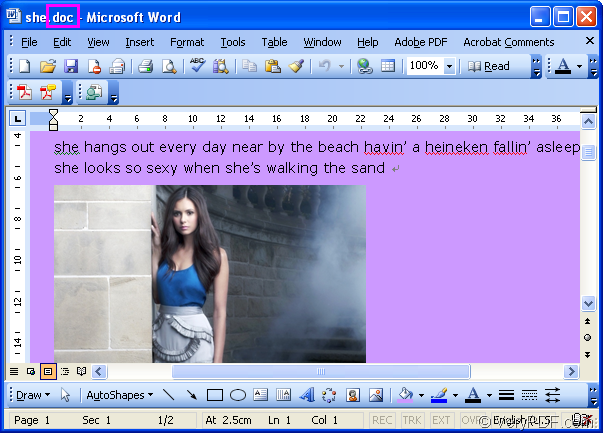
Figure1.doc file.
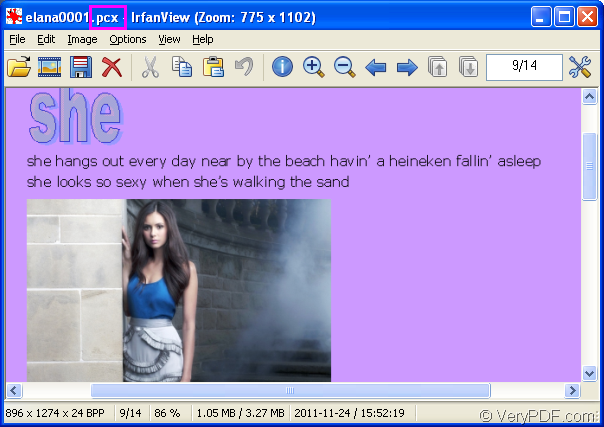
Figure2.pcx format file.
Here is a doc file and a pcx format file with the some contents.The pcx format file is the result after converting doc to pcx.The converting software used here is docPrint Pro which can convert MS Office 97/2000/XP/2003/2007, WordPerfect, AutoCAD DWG, PostScript, Adobe Acrobat PDF and many other document types to Adobe Acrobat PDF, PostScript, EPS, XPS, PCL, JPEG, TIFF, PNG, PCX, EMF, WMF, GIF, TGA, PIC, PCD and BMP etc formats. It works in both GUI version and Command Line version. With docPrint Document Converter Professional you can convert your documents from and to 50+ formats easily.
With the help of docPrint Pro,you can realize many kinds of functions when you convert doc to pcx such as resolutions,multiple pages on one sheet,watermarks headers and footers,paper scaling,save paper,manual margin setting,rotate page,page order change,saving ink and so on.docPrint Pro supports Win2000/XP/2003/Vista/7 (x86 & x64) and Windows 2008 R2 x64 systems.
Please download docPrint Pro at https://www.verypdf.com/artprint/docprint_pro_setup.exe. It is an executable file when just been download to your computer and you can double click the file to install it directly.If you have any questions about the installation of docPrint Pro,please visit https://www.verypdf.com/wordpress/201111/how-to-install-docprint-pro-13154.html to read the article “How to install docPrint Pro?” and you will know all the details about installing docPrint Pro.
- Run printer driver in your computer
If you don’t set docPrint Pro as the default printer,please use the following two ways.
(1)Open the word document and click “File”—“Print” to open “Print” dialog box.Then choose “docPrint” as current printer in “Name” combo box and click “OK” button.
(2)Open the word document and press “Ctrl” + “P” to open the same dialog box.
If you have set docPrint Pro as the default printer,Please follow the two ways below and they will skip the “Print” dialog box to save time.
(1)No need to open doc file,you should just right click the file and click “Print” option directly.
(2)Open doc file and click the icon ![]() in the toolbar.
in the toolbar.
- Open “Save As” dialog box
Then you will see “docPrint” dialog box showed in Figure3 appears.You should do the operations like the ones showed below to open “Save As” dialog box.

Figure3.
(1)Click “File” and click “Save as” in dropdown list.
(2)Click the icon ![]() in the toolbar.
in the toolbar.
(3)Press “Ctrl”+ “S” combination on your keyboard.
- Save the output file
In “Save As” dialog box,please see Figure4.you should follow the operations below to save your target file.
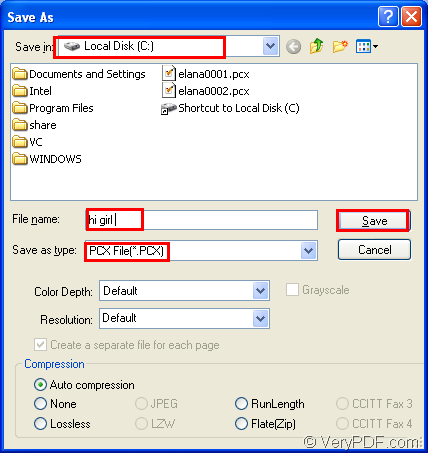
Figure4.
(1)Specify the path for target file in “Save in” combo box.
(2)Edit the name for target file in “File name” edit box.
(3)Ensure the file type of the target file in “Save as type” combo box.
(4)Click “Save” button to save the file.
Then you can complete your conversion of doc to pcx by finding the target file in specified location.If you want to learn more information about docPrint Pro,please click on the link https://www.verypdf.com/artprint/index.html and https://www.verypdf.com/artprint/document-converter/help.htm. You can also read other articles about docPrint Pro on the blog https://www.verypdf.com/wordpress/.