Usually, three steps are enough for you to convert PPT to EPS format via VeryPDF docPrint PDF Driver printer. VeryPDF docPrint PDF Driver printer is a powerful virtual printer which can convert any printable documents to files in PDF, BMP, PS, TIFF, EPS, PCX, etc. formats. VeryPDF docPrint PDF Driver printer is included in many VeryPDF products like docPrint.
This article will show you how to call VeryPDF docPrint PDF Driver printer, and use it to convert PPT to EPS:
1. Open the PPT document in a MS Office application like the 2010 version.
2. Run VeryPDF docPrint PDF Driver printer. You should do as follows:
- 2.1. You should press [Ctrl+P] on the keyboard; or click [File] on the tool bar and then click [Print] on the drop-down menu to open the [Print] interface( or dialog box if you are using Office 2003);
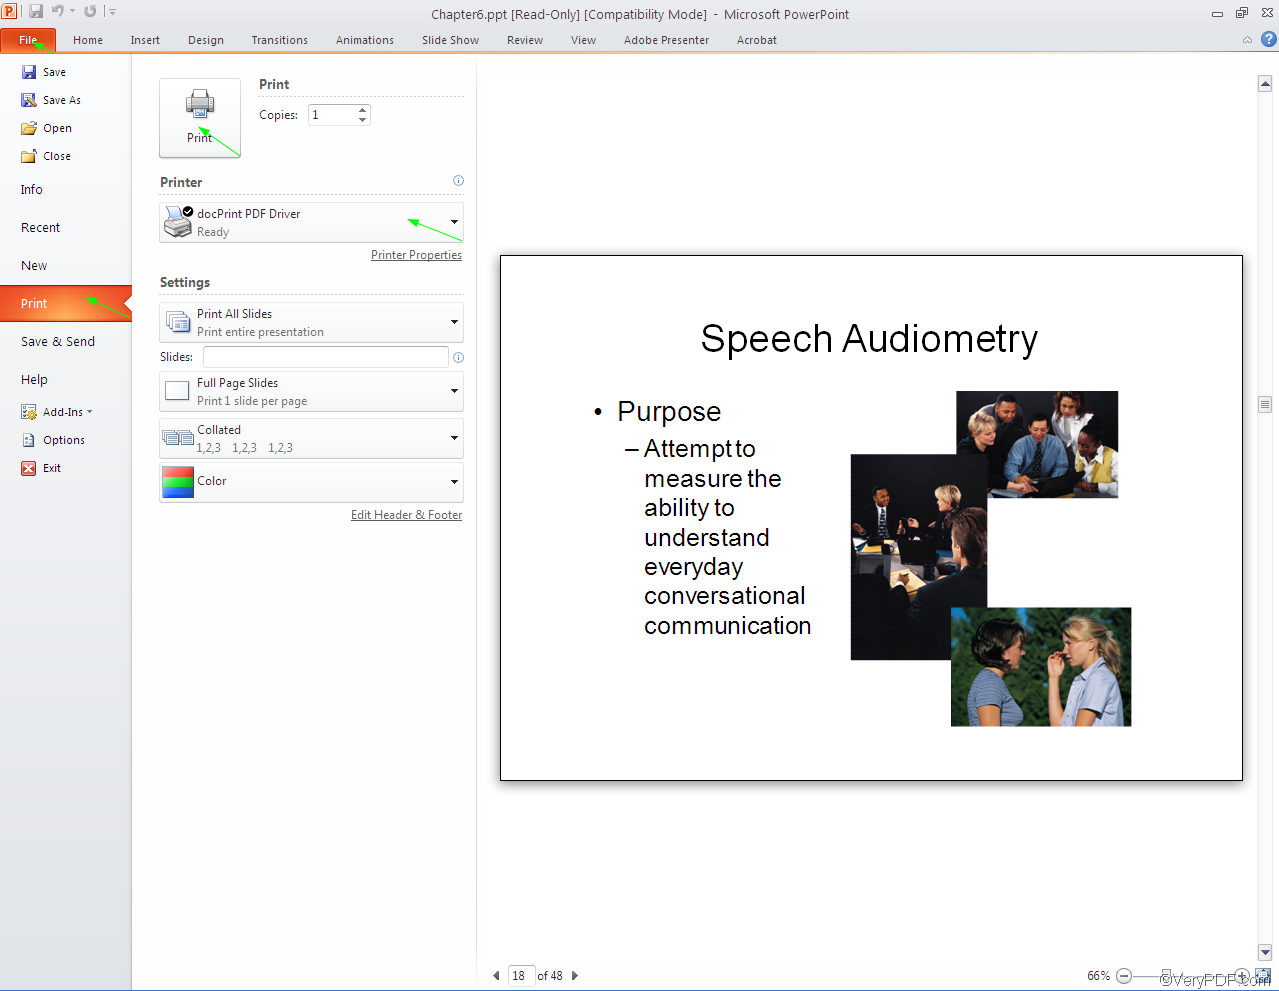
- 2.2. Specify [docPrint PDF Driver] as the printer in the [Printer] combo box.
- 2.3. Click the [Print] button above the [Printer] combo box.
Then, the computer is converting PPT to EPS, when it opens the [Save as] dialog box. At the same time, a tiny printer icon ![]() will appear in the right down corner on the computer screen.
will appear in the right down corner on the computer screen.
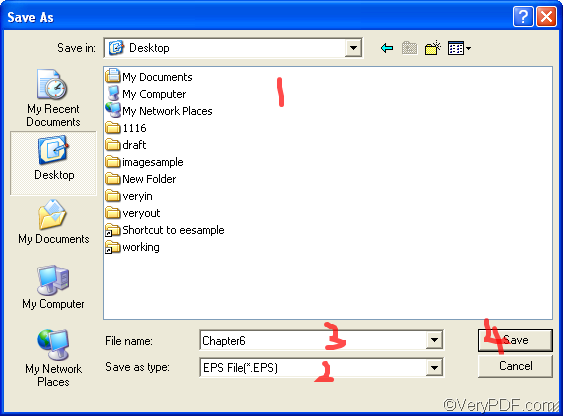
3. Save the output files in EPS format in the[Save As] dialog box . It will take you three or four seconds to open the [Save As] dialog box after you click on [Print]. When the [Save As] dialog box appears on the computer screen, you should do the following steps to save the output EPS image files in your computer:
- 3.1. You should select a directory in the [Save in] combo box and list box, for example, you can directly put it on the desktop.
- 3.2. Choose [EPS File (*.EPS)] as the output format in the [Save as type] combo box.
- 3.3. Type name for the outputting EPS files in the [File Name] edit box. Usually, the computer will convert each slide with the original PPT document to one EPS image, and the names of the EPS image files will base on the name typed in the [File Name] edit box.
- 3.4. Click on the [Save] button to close the [Save as] dialog box and save the output files in EPS format.
The conversion will take five or six seconds. When the tiny printer icon disappears from the computer screen, you can view the result of conversion. As you can see, VeryPDF docPrint PDF Driver printer can perfectly preserve the original layout, type font, type color from the source PPT to EPS image files. The following is a comparison between a colorful slide of a PPT and the output EPS file converted from the PPT.
Before: one PPT slide
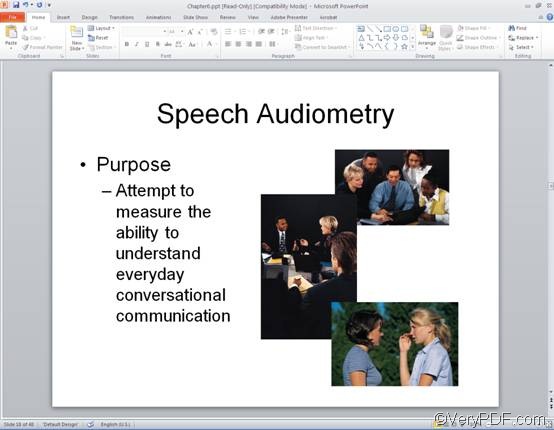
After: the EPS image file converted from this PPT slide

Quickly, effectively and correctly, VeryPDF docPrint PDF Driver printer can help you convert PPT to EPS If you want to download this product, please visit the following website: www.verypdf.com