This article aims at showing the steps about how to convert MS Office PowerPoint document of ppt to dcx for you with the help of docPrint Document Converter Professional which is also called as docPrint Pro for short. You will see how easy the conversion process and how convenient the application is.
docPrint Document Converter Professional is a software product that dynamically converts MS Office 97/2000/XP/2003/2007, WordPerfect, AutoCAD DWG, PostScript, Adobe Acrobat PDF and many other document types to Adobe Acrobat PDF, PostScript, EPS, XPS, PCL, JPEG, TIFF, PNG, PCX, EMF, WMF, GIF, TGA, PIC, PCD and BMP etc formats. With docPrint Document Converter Professional you can convert your documents from and to 50+ formats easily.
docPrint Pro works in three applications which are GUI application, command line application and virtual printer application. They all can realize the functions respectively, but more or less the same. For example, GUI application is good at batch conversion, command line is used for software developing often and the virtual printer can also act as document converter besides the functions of Windows printer.
One of three applications to be introduced in following contents is the virtual printer—docPrint. It is is easy to use. Just print any printable document to docPrint, you will be able to launch the printer at once. But you have to download docPrint Document Converter Professional at https://www.verypdf.com/artprint/docprint_pro_setup.exe for using docPrint smoothly.
Please see the steps which are used to convert ppt to dcx below.
Firstly, you should run the printer driver on your computer. If docPrint is the default printer, you can find the PPT document which needs to be converted and right click it to choose “Print” option to directly run docPrint. This is the most convenient way. If not, please open the PPT document and click “File”—“Print” to open “Print” dialog box in which you should choose “docPrint” as current printer in “Printer” combo box and click “Print” button.
Secondly, you will “docPrint” dialog box comes out at once. Please see it in Figure1. There are several function icons in the toolbar and a small dialog box called “Option Settings” on the right. If you want to convert ppt to dcx only, please don’t care about them. Just use one of the ways offered below to open “Save As” dialog box. (1) Please click “File” and click “Save as” in dropdown list. (2) You can use the icon which looks like a floppy disk in the toolbar. (3) Use the hot key “Ctrl”+ “S” to help you.
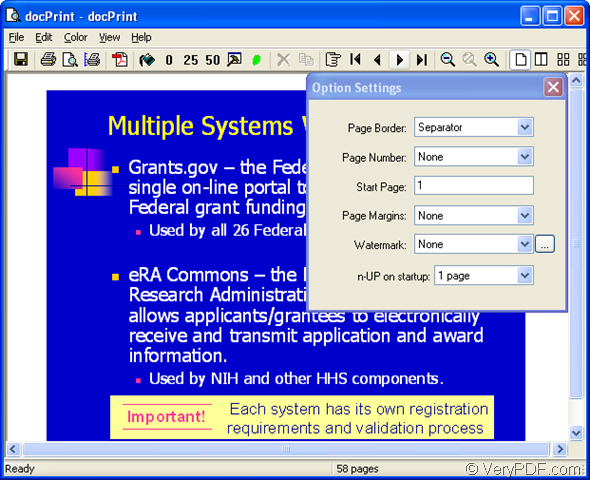
Figure1.
Thirdly, in popup “Save As” dialog box, please see it in Figure2, you have four operations to be complete before run the conversion from ppt to dcx. (1) Please specify the location for output files in “Save in” combo box. (2) Input the name for the target files in “File name” edit box. (3) The output file format can be chosen in “Save as type” combo box. (4) Click “Save” button to save all the changes and run the conversion.
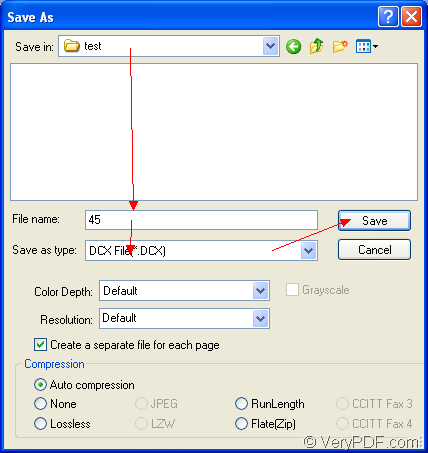
Figure2.
You are able to browse the target files several seconds later. You will be amazed at the conversion speed. If you still have any questions about the this conversion, welcome to leave messages. If you want to read more articles about docPrint, please visit the blog VeryPDF Knowledge Base at https://www.verypdf.com/wordpress/.