If you have a good document converter, it’s easy to convert PRN to JPG and set image resolution. This time, I would like to introduce a software application designed by VeryPDF. The name of this application is PCL Converter.
You can use PCL Converter to convert not only PRN to JPG, but also PXL, PCL, or PX3 JPG. You can also choose to remain the original color and set image resolution. The following takes the conversion from PRN to JPG as an example and explains how to set image resolution when create image files. Please follow the steps below to solve your problem.
1. Download and Install PCL Converter
PCL Converter is available at https://www.verypdf.com/app/pcl-converter/index.html. Or you can just click here to download the application. After that, please follow the instruction to install PCL Converter.
2. Open PCL Converter
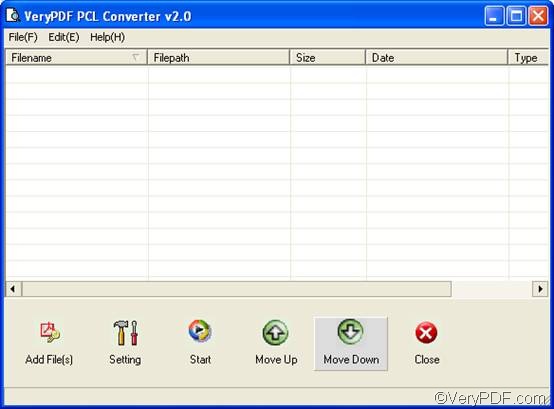
Once PCL Converter is installed, you can find its shortcut icon on the desktop. Please double click it to open the main interface of PCL Converter. The following illustrates the interface.
3. Input PRN files
You can click Add File(s) to input PRN files. Or you can drag the PRN files from Windows Explorer and drop them into the list box. You can view the input files paths, types, sizes, etc. on the interface. To remove some files from the list box, you need to use the Delete key on your keyboard.
4. Set options
As you can see on the right hand of the Add File(s), it is the Setting button. The later key can help you set output format, set image resolutions and other options. Please click Setting to open the dialog box and then do as follows:
Move the cursor to the Output format combo box on the default tab control Base Setting. > Click the down arrow. > Choose .jpg in the drop down list.
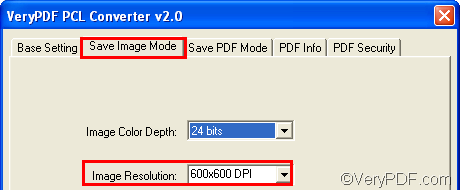
After setting the output format, you can set image resolution by clicking Save Image Mode, and then choose an item in the drop down list of the Image Resolution combo box. After setting options, please click OK to close the dialog box.
5. Save PCL files
Click the Start button, a dialog box will pop out. You can choose a folder in the dialog box, and then click OK.
You can use this method to convert PRN to JPG and set image resolution. Thanks for reading.