pdfcamp printer

How to convert Google Docs to PDF file?

Google Docs is a free, Web-based office suite, and data storage service offered by Google. It allows users to create and edit documents online while collaborating in real-time with other users. You can create new documents from scratch or upload existing documents, spreadsheets and presentations. There's no software to download, and all your work is stored safely online and can be accessed from any computer.There are many advantages of google docs,such as creating basic documents from scratch or starting from a template,Uploading your existing files,Choosing who can access your documents,Sharing instantly,Editing and presenting with others in real time,etc.But at first,you should have a google account,if not,you have to register one and sign in.

If you want to convert the google docs to pdf file, I think you should use the software PDFcamp Printer and I will tell you several steps which is easy enough to learn.

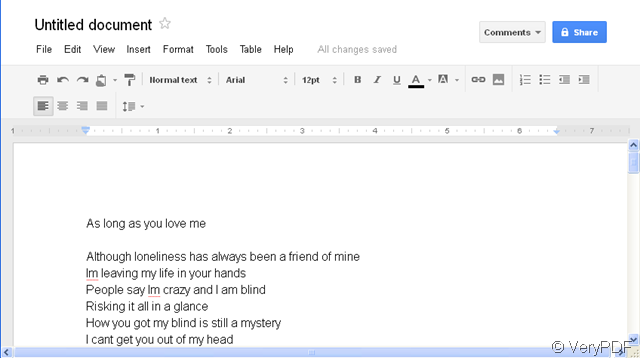
Step1.Sign in google docs and you can create a new file or upload the existing documents in your computer.Of course you can set the font color,font number and other parameter in google docs.

image

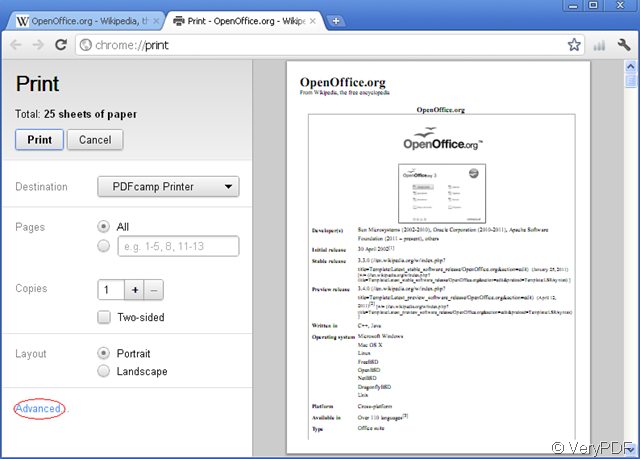
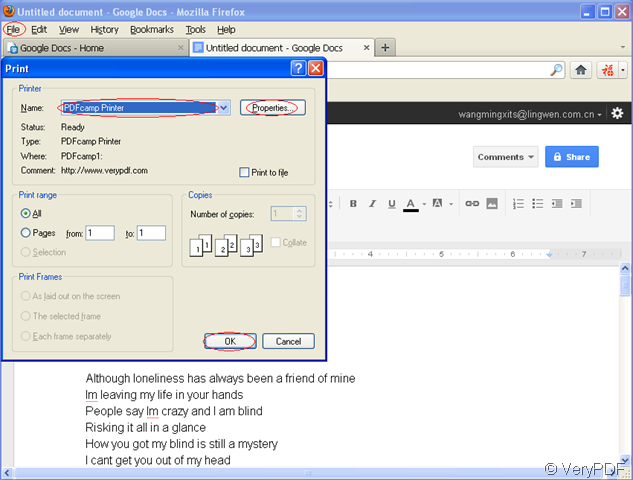
Step2.After finishing your document,you can click “file”—“print” or press “Ctrl”+”P”to convert the google docs to pdf file.There are two methods to convert google docs to pdf file.

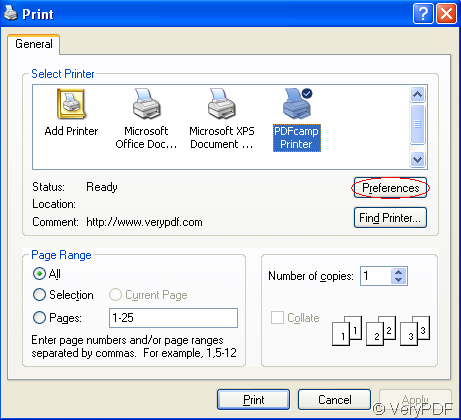
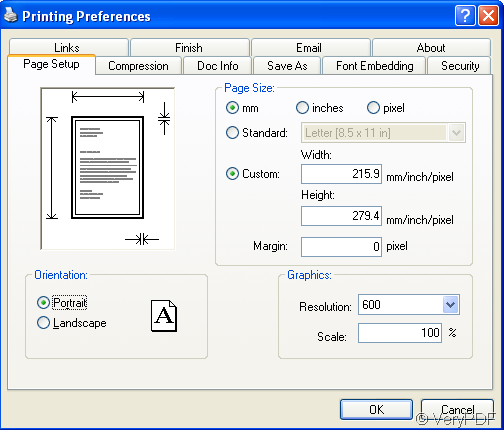
(1)Click “file”—“print”on the browser and select the printer,then set the parameter in “properties”.There are nine kinds of parameter you can set in properties and you can set freely according to your need.Then name and save the new pdf file.

image

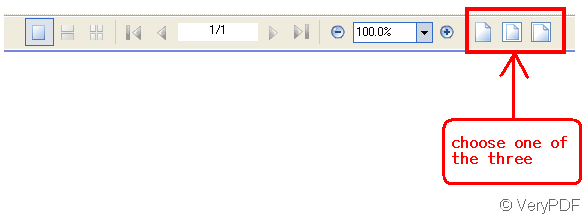
(2)Because of the powerful function of google docs itself,you can create the pdf file directly by selecting the open format.The default open format is Adobe Reader.Then you can click “OK”.

image

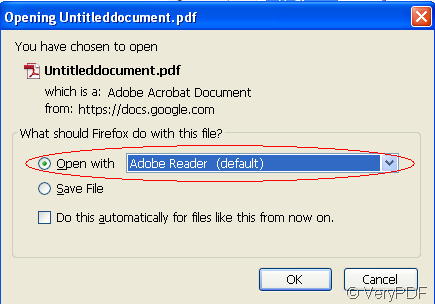
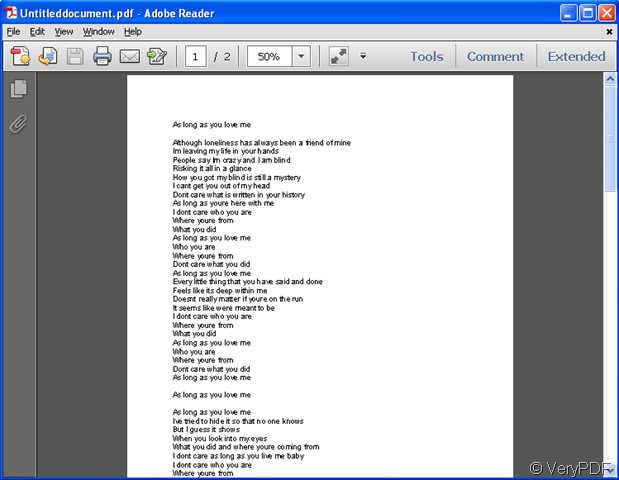
The system will download the new pdf file itself and you will see the file after download.

image

In the conversion of google docs to pdf,these two ways are very practical,you can choose anyone to use.

VN:F [1.9.20_1166]
Rating: 4.7/10 (28 votes cast)
VN:F [1.9.20_1166]
Rating: +1 (from 7 votes)
docprint pro

How to convert OpenOffice to EPS?

EPS or Encapsulated PostScript is a standard graphics file format for exchanging images, drawings (such as a logo or map) or even layouts of complete pages. An EPS file internally contains a  description of such an object or layout using the  PostScript page description language. It can include both bitmap and vector data.  The purpose of an EPS file is to be included in other pages. Sometimes EPS files are called EPSF files.  EPS files have the extension .eps or .epsf. EPS files are more or less self-contained, reasonably predictable PostScript documents that describe an image or drawing and can be placed within another PostScript document.

One of the quickest ways to convert OpenOffice to EPS  is to use a document converter. This article will take VeryPDF docPrint Pro for instance to show you how to convert a file of OpenOffice to EPS image.

Step 1: Run VeryPDF docPrint Pro

Step 2: Drag the file you want to convert from OpenOffice to EPS image to the list box of the application.

Step 3: Set the output format to EPS

After click the second button “Setting” near the bottom of the application panel, select the output format to “.eps” on the drop-down menu next to “Output Format” in the prompt box.  And click “OK” to finish setting.

Step 4: Start converting  OpenOffice to EPS

After you click the third button on the panel of docPrint,  a box will pop out to navigate you to select a directory to save the file converted from OpenOffice to EPS.  You should type a name in to the edit box next to “File Name” and click “”Save” to start converting the file from OpenOffice to EPS.

While it is processing, an icon looks like a printer will appear in the status bar on the right-down corner of the screen. When this icon disappears, it means the conversion is finished, and the image converted from  OpenOffice to EPS opens by default. The following screenshot illustrates the effect of the image from OpenOffice to EPS.

 image

VN:F [1.9.20_1166]
Rating: 0.0/10 (0 votes cast)
VN:F [1.9.20_1166]
Rating: 0 (from 0 votes)
pdf editor

How many ways does verypdf pdf editor have to change the margin of pdf file?

There are four ways to change the margin of pdf file by use of “verypdf pdf editor”.

Method 1: At the bottom of “verypdf pdf editor” when it’s opened you can see the option, there are three choice that as three different versions supply for you. Look at the illustration below:

image 

Every one of the three versions in the picture you can use as your pdf file’s margin.

Method 2: Referring to “Method 1”, next to it on left you can see an adjustment in which you can choose the margin or set a margin. Loot at the illustration below:

image 

Method 3:  On the rightmost of the bottom of “verypdf pdf editor” there is an option about margin revision. Loot at the illustration below:

image

This area for margin revision has nearly both merit of “Method 1” and ”Method 2”.

Method 4: On the top of “verypdf pdf editor” namely the toolbar find “View” option, click it you can see some options, excluding the last option that is “Toolbar” the left all of them can change the margin. Look at the illustration below:

image

VN:F [1.9.20_1166]
Rating: 0.0/10 (0 votes cast)
VN:F [1.9.20_1166]
Rating: 0 (from 0 votes)
pdfcamp printer

How to download Wikipedia Pages as PDF file?

Sometimes,you may be confused by many questions and many definitions.If I ask you “what is PDFcamp Printer?”You may open google or other search engine and input “what is PDFcamp Printer?”Maybe there are many answers in the page.For example,if you click one link,you may find it is a Wikipedia page and the answer will be full-scale to tell you PDFcamp Printer is a powerful software which can print many kinds of files to pdf files,it may tell you the features,history,platform of PDFcamp Printer.

You may want to download the page to keep the answer which is useful to you,so printing the page to pdf file is a good way.You should follow the steps below.

Step1.Open Wikipedia page and press “Ctrl”+”P”,then you can see the print preview.It shows the resulting file is black and white.If you don’t care the color,you can click “Advanced”to set the parameter.If you do,you should change a browser such as Internet Explorer or Mozilla Firefox.

image

Step2.Choose PDFcamp Printer in “Destination” then click “Advanced”—“preferences”to set parameter according to your need.

image

image

Step3.After setting,you can click”OK”and save the new file in a location you like.

If all the steps you have done,you will see a new resulting pdf file from Wikipedia page.Do you think PDFcamp Printer is a very convenient software?I think so.

VN:F [1.9.20_1166]
Rating: 3.8/10 (4 votes cast)
VN:F [1.9.20_1166]
Rating: 0 (from 0 votes)
docprint pro

How to convert OpenOffice to Postscript?

VeryPDF docPrint Pro can easily help you convert OpenOffice to Postscript.  This article will show you how to do it.

Step 1:  Run VeryPDF docPrint Pro

Double click the icon of VeryPDF docPrint Pro to run the application.  Then you will see the panel of docPrint. Near the bottom of the panel, there are six buttons as following:

image

The first three buttons are the most useful ones.

Step 2 : Add  files

Click  the first button “Add File(s)” to add the files you want to convert from OpenOffice to Postscript, or keep pressing Ctrl and  select all the files you want to convert,   then, release the Ctrl key and drag all the files to the list box.

Step 3: Set output format

Click the second button “Setting”, and select the output format to “.ps” on the dialog. Then, click “OK”. Because you want to convert OpenOffice to Postscript,  the output format should be “.ps”.

Step 4: Start converting

Click the third button, then a “Save As” box will pop out. Select a path and create a new file by type a new file name in the add box next to “File name”. After that, click “Save” to start converting OpenOffice to Postscript.

image

Converting  OpenOffice to Postscript will only take you seconds.

VN:F [1.9.20_1166]
Rating: 0.0/10 (0 votes cast)
VN:F [1.9.20_1166]
Rating: 0 (from 0 votes)