Jpg is the most common image format used by digital cameras and other photographic image capture devices; it is the most common format for storing and transmitting photographic images on the World Wide Web. So, the following part of the article is going to show you how to convert pcl to jpg and set resolution using PCL Converter command line.
The first step—Downloading
Follow this link to download PCL Converter command line
https://www.verypdf.com/pcltools/index.html
After the downloading work is done, you could find the VeryPDF PCL Converter v2.0 in your computer, like the picture suggests below,

The second step—Launching
For inputting command line, you have to launch command prompt window and the way to launch it is easy, do as the follow picture indicates
1) Click “start”>choose “Run”>input “cmd”>press “ok”
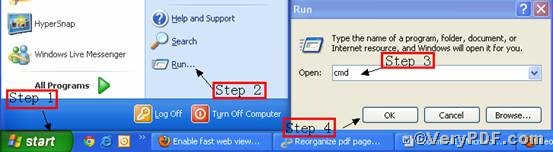
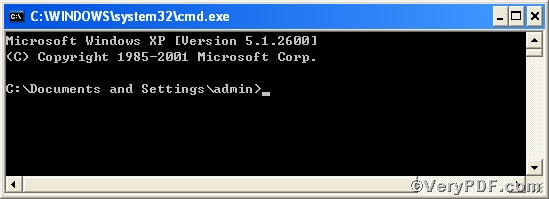
2) Press “ok”, you will find command prompt window popping up
The third step—Inputting
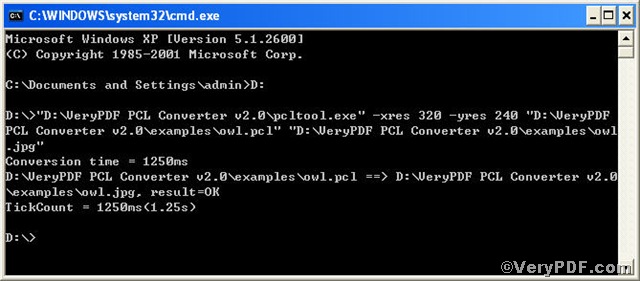
Input command line to convert pcl to jpg and set resolution, it goes below
pcltool.exe -xres 320 -yres 240 D:\in.pcl D:\out.jpg
where
- D:\in.pcl is to specify a pcl filename or a directory for input,
- D:\out.jpg is to specify the jpg file name for output,
- xres 320 -yres 240 is to set X resolution 320 and Y resolution 240 to image file.
Once the input is done, press “enter” key, you will see,
The fourth step—Checking
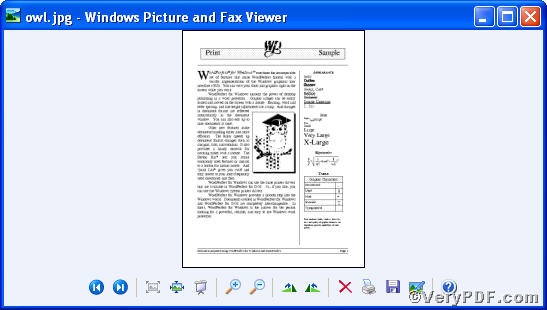
Open the folder to check if pcl file has been converted to jpg, to show the contrast of the setting resolution, the VeryPDF.com does a comparison below.
Picture 1
Picture 2
From the pictures, you find pcl file has been converted to jpg file and the resolution has changed for good-looking purpose. There are plenty of functions about PCL Converter command line, if you are interested, you can try the related converting work by taking above steps as reference.