pdf editor

How to change the width and height of an annotation by use of VeryPDF PDF Editor?

When we add an annotation to a PDF file by use of VeryPDF PDF Editor, meantime need alter its width and height, VeryPDF PDF Editor can satisfy the need.

Download VeryPDF PDF Editor at www.verypdf.com, open it and add a PDF file to it and then add an annotation to the PDF file, the operation is below:

image

image

Double-click these annotations then they were showed in the PDF file. Next is an example.

 image

After that click the annotation that is in the PDF file, look at the illustration below:

image

If the illustration can’t be displayed, click Edit Comment in the toolbar of VeryPDF PDF Editor, then click the annotation.

image  

This is the indication for Edit Comment.

There are four points when the annotation is chosen, drag these points the annotation will be enlarged or reduced.

image 

This is to magnify.

image

This is to reduce.

VN:F [1.9.20_1166]
Rating: 0.0/10 (0 votes cast)
VN:F [1.9.20_1166]
Rating: 0 (from 0 votes)
pdf to image converter

Can PDF To Image Converter convert PDF files partly? Cause we want just only some part of pages of PDF converted to BMP images.

For your problem here, please choose PDF To Image Converter v2.1 where there is a option named “Page range” user can set. You will know the solution quickly according to our following steps.

Step1. Add PDF file to PDF To Image Converter v2.1 first, To look over it, you can click the route to activate preview area and adjust it with icons above it.

pagerange1

Step2. Select your target format as “BMP” here and give a folder for your BMP.

pagerange2

Step3. Set “Auto” in “Image bitcount” to get the most qualified image in color and keep other options as defaulting set except “Page range”. For “Page range”, there are many tips:

  • Hide it so that all pages of PDFs will be converted;
  • Click it to click “From” and “To” active: for example, you can set the range from 1(“From”) and 1(“To), then you will get 1 page image for each PDF file in PDF To Image Converter v2.1.

Here we choose this setting mentioned in that example.

pagerange3

Step4. Click “Convert” button and close PDF To Image Converter v2.1.

VN:F [1.9.20_1166]
Rating: 0.0/10 (0 votes cast)
VN:F [1.9.20_1166]
Rating: 0 (from 0 votes)
docprint pro

How can I create high quality EMF files from a Word document?

EMF (Enhanced MetaFile) is the 32- bit version of the original Windows metafile  (WMF) format. It is a graphic language for printer drivers. The EMF format was designed to solve the deficiencies of the WMF format in printing graphics from sophisticated graphics programs. It allows multiple print jobs to be given to the printer at one time, and is device-independent. In addition, the smaller file size of the EMF format reduces network traffic.

You can use VeryPDF docPrint to create high quality EMF filea from a Word document. VeryPDF docPrint is an easy to use software application. Not only can VeryPDF docPrint act as a a Windows printer driver , but it is also a Document Converter that converts any printable document to 50+ graphics.  You can download VeryPDF docPrint at https://www.verypdf.com/artprint/index.html .

The following part of this article  shows you how to use VeryPDF docPrint create high quality EMF files from a Word document.You should:

1 Open the source Word document.

2 Run VeryPDF docPrint

Press Ctrl+P to open the Print dialog box>specify docPrint as the printer  on the drop-down menu of the Name combo box>press OK to close the Print dialog box and open the docPrint dialog box and Option Settings dialog box. 

image

3 Choose options on the Option Settings dialog box

You can select options in the Option Settings dialog box to set watermark, page number, page margin, etc on pages. Here I would not focus on how to set those options. To get more information, please read other articles  at https://www.verypdf.com/wordpress/category/docprint-pro . Since this article aims to introduce how to convert a Word document to high-quality EMF file, let’s close the Option Settings dialog box and skip to the next step.

image

4 Save the outputting file in EMF format

Click the save as icon in the Option Settings dialog box to open the Save As dialog box>select the directory for exporting the file converted from Word to EMF.>Name the EMF file>Specify the file type as EMF File “*.EMF” on the drop-down menu of Save as type from the combo box.>Specify  32.bit as the Color Depth>Specify 600x600 dpi as the color Resolution. >Press Save button to close the Save As dialog box.

The underlined three steps above enable you to get high-quality EMF files.

image 

4 Check the effect of conversion.

Since the sample Word document has four pages, it has been converted to four EMF files in my computer. Open one of the high quality EMF files and enlarge it. We can see that the effect of conversion from the Word document to EMF files is wonderful.

image

VN:F [1.9.20_1166]
Rating: 0.0/10 (0 votes cast)
VN:F [1.9.20_1166]
Rating: 0 (from 0 votes)
pdfcamp printer

How to print ICO to PDF file?

ICO,which is an image file format for icons in window system,just like ICNS file format used in Mac system,is used to store files, programs and folders. ICO file format is just like CUR files. CUR files are used for mouse cursors. In Windows, all executable files that display an icon to the user, on the desktop, in the Start Menu, or in Windows Explorer, must carry the icon in ICO format.

ICO files can be printed to pdf files.If you want to print ico to pdf,you can use PDFcamp Printer which can be loaded at https://www.verypdf.com/pdfcamp/pdfcamp_setup.exe to help you.PDFcamp Printer is a kind of converting software,also can be thought as printing software.It can convert any type of printable files to pdf files in a very short time.Here are some easy steps for you in this article which you can read.

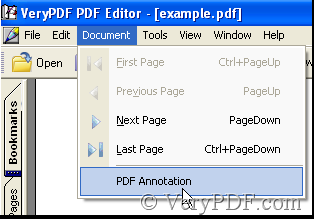
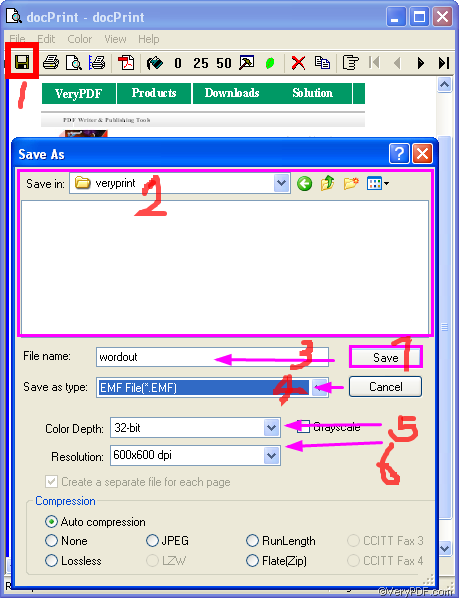
Step1.Open an ico file by some viewer which can open ico files,such as window picture and fax viewer,photoshop,IrfanView,etc.Please use the hot key “Ctrl” + “P” or click the icon image which means printing to run printer driver.Please look at figure1.
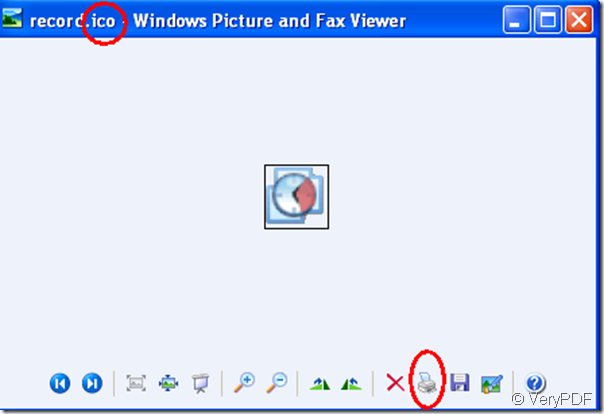
image

                                                                  figure1.

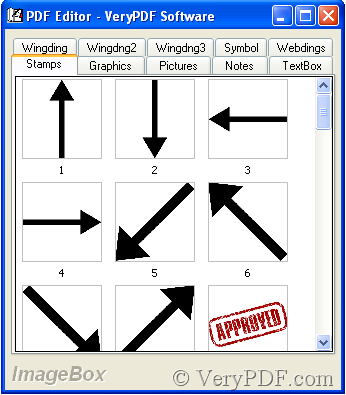
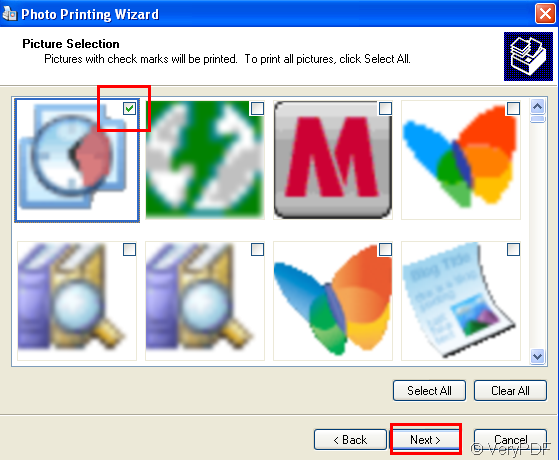
Step2.Then you will see a photo printing wizard,you should click “next” to continue your work.In next dialog box,you should check the file or files you want to print,then click next.Please look at figure2.
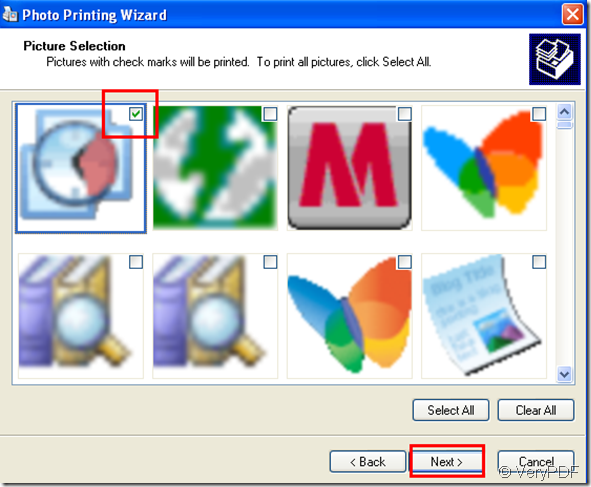
image

                                                               figure2.

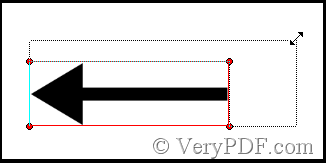
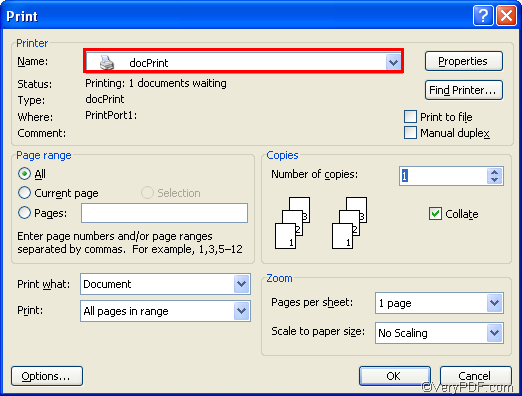
Step3.Then the dialog box will ask you what printer do you want to use,you should select PDFcamp Printer in the combo box.You also can click “printing preferences” button to set the parameters of PDFcamp Printer.Then click next.Please look at figure3.
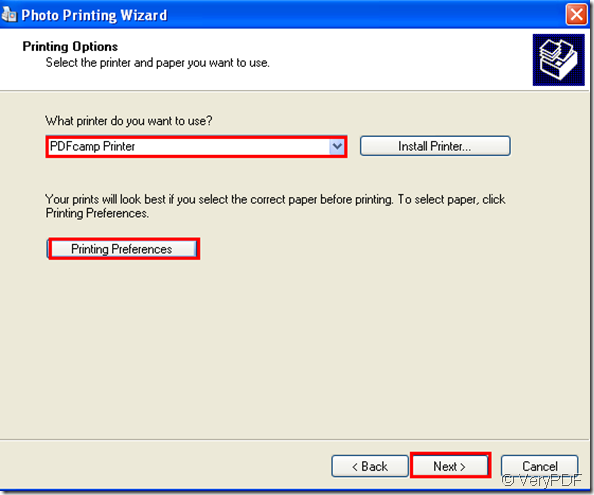
image

                                                                    figure3.

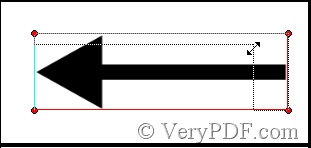
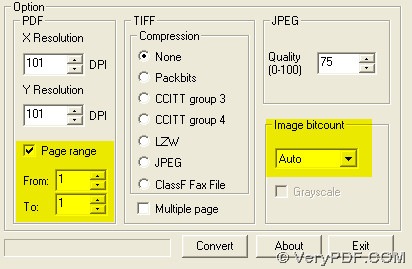
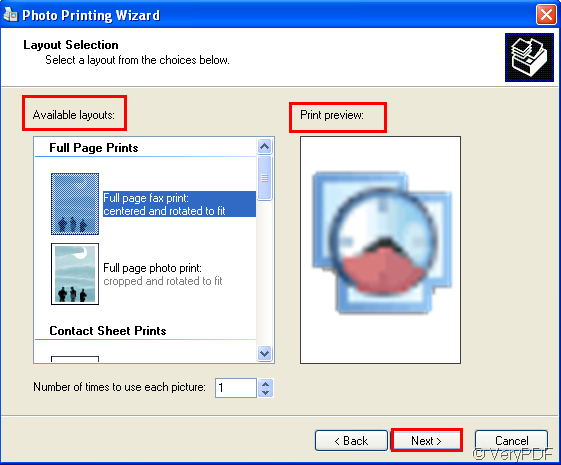
Step4.Select a suitable layout format for your file, you can see the result in preview frame.There are 9 kinds of layout formats you can choose.Then click “next”.Look at figure4.
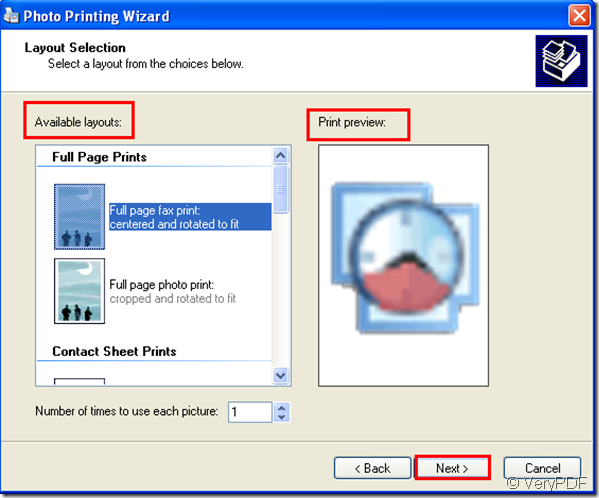
image

                                                               figure4.

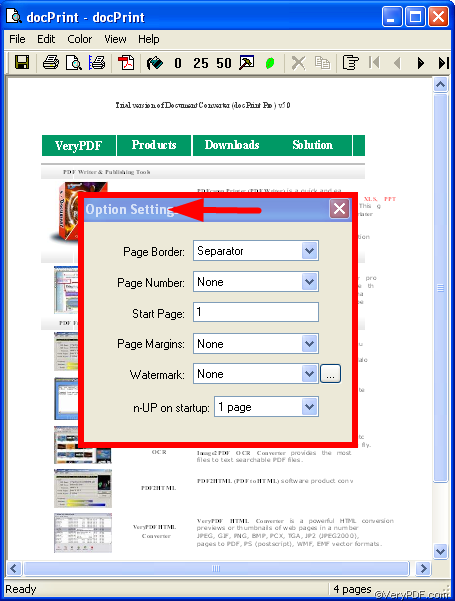
Step5.Please save and name your file in “save as ”dialog box.Then click “save” button.

Then you can see a new pdf file after printing ico to pdf file.Look at figure5.

image

                                                                   figure5.

VN:F [1.9.20_1166]
Rating: 0.0/10 (0 votes cast)
VN:F [1.9.20_1166]
Rating: 0 (from 0 votes)
pdf editor

Can I lock/unlock the annotation by use of VeryPDF PDF Editor?

The process as follows:

Step 1: Open VeryPDF PDF Editor and add a PDF file to VeryPDF PDF Editor.

Step 2: See the illustration below:

image

image 

There are ten categories about the annotations, except Graphics and TextBox categories, the left only double-click them, then they are added to the PDF file. Let’s add an annotation to the PDF file.

image

image

Thus an annotation has been added to the PDF file, generally when an annotation has been added to a PDF file by use of VeryPDF PDF Editor,  the annotation can be edited immediately, if you can’t edit, click the Edit Comment in the toolbar of VeryPDF PDF Editor, then you can edit. Next let’s see how to lock/unlock the annotation.

Step 1:  Click the annotation, make it chosen.

Step 2: Right-click and choose Lock/Unlock.

image

First time you choose the Lock/Unlock, the annotation is locked, that means you can’t move the annotation. Second time you choose the Lock/Unlock, you can move the annotation anew, you can move the location of the annotation, you can alter the size of the annotation.

VN:F [1.9.20_1166]
Rating: 0.0/10 (0 votes cast)
VN:F [1.9.20_1166]
Rating: 0 (from 0 votes)