Figure1.
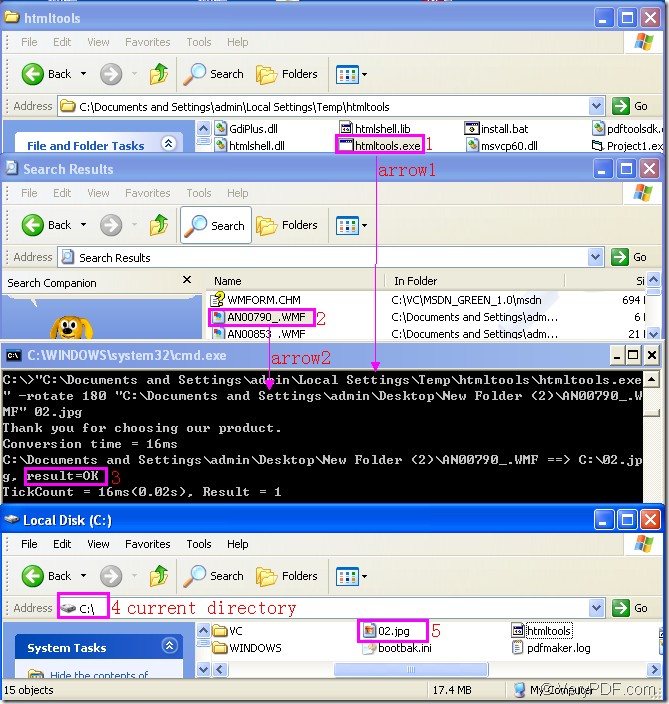
Please see the file framed in rectangle 1,which is the executable file in the software HTML Converter Command Line.It is also the called program,the most important element in the conversion of wmf to jpg.HTML Converter Command Line is a powerful HTML conversion product. It allows you to create previews or thumbnails of web pages in a number of different formats, such as TIF, TIFF, JPG, JPEG, GIF, PNG, BMP, PCX, TGA, JP2 (JPEG2000), PNM, etc. It also allows you to convert web pages to PDF, PS (postscript), WMF, EMF vector formats.You can download HTML Converter Command Line at https://www.verypdf.com/htmltools/htmltools.zip.
The file framed in rectangle 2 is the source file—wmf format file which needs to be converted to jpg format file.
Please see the third dialog box in Figure1.It is cmd.exe dialog box in which you can input command line to convert wmf to jpg format file.The command line is not hard like you see in the dialog because it only contains four parts—called program,parameter,source file and target file.The command line you see in the dialog is written referring to the following structure.
htmltools.exe –rotate value “input.wmf” output.jpg
We can analyse the example in the conversion of wmf to jpg.
"C:\Documents and Settings\admin\Local Settings\Temp\htmltools\htmltools.exe" -rotate 180 "C:\Documents and Settings\admin\Desktop\New Folder (2)\AN00790_.WMF" 02.jpg
"C:\Documents and Settings\admin\Local Settings\Temp\htmltools\htmltools.exe" is the path of htmltools.exe.You can see arrow1,which means dragging the file into cmd.exe dialog box directly.It can save you a lot of time and energy.
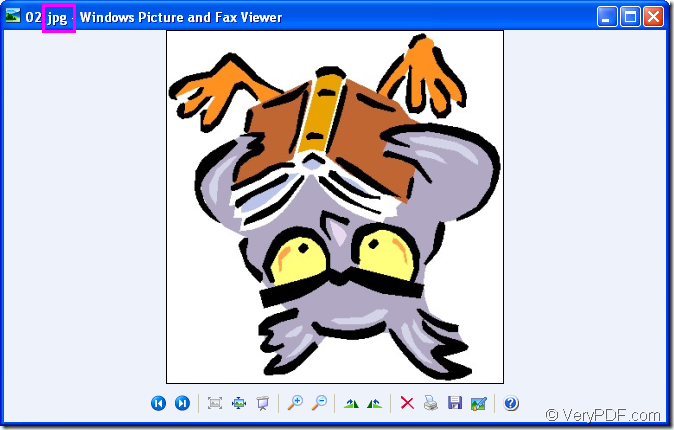
-rotate 180 means the rotation angle has been set as 180° and the source file will rotate by 180° clockwise.
"C:\Documents and Settings\admin\Desktop\New Folder (2)\AN00790_.WMF" is the path of source file,which can also be dragged into cmd.exe dialog box like arrow2.
02.jpg is the name of target file.In the command line,you can not see the directory of the target file,so the file will be saved in current directory—C disk,please see rectangle 4.
NOTE:result=OK in rectangle 3 means the conversion of wmf to jpg is successful.
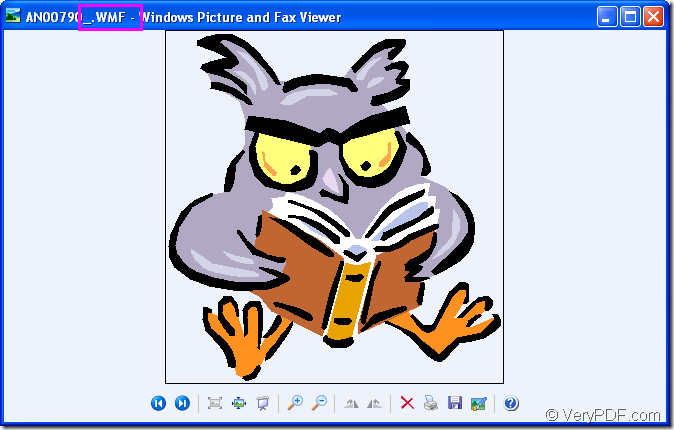
You can see the target file in rectangle 5 in the last dialog box.Please see the source file and target file in Figure 2 and Figure3 before and after converting wmf to jpg.
Figure2.Before converting
Figure3.After converting


