Users can use Verypdf docPrint to add text comment and several other kinds of comment on the current page. If you have used VeryPDF docPrint to print or convert documents before, you might have noticed there is a option “Add Comments on Current Page” on the “Edit’ drop-down menu which popped out when you clicked “Edit”. If it is the first time for you to use Verypdf docPrint, you may need to download it from https://www.verypdf.com/artprint/index.html .This article would like to show you how to use “Add Comments on Current Page” option to add text to the current page step by step.
1 Open the PDF file, for instance, you want to add text comment.
2 Run Verypdf docPrint
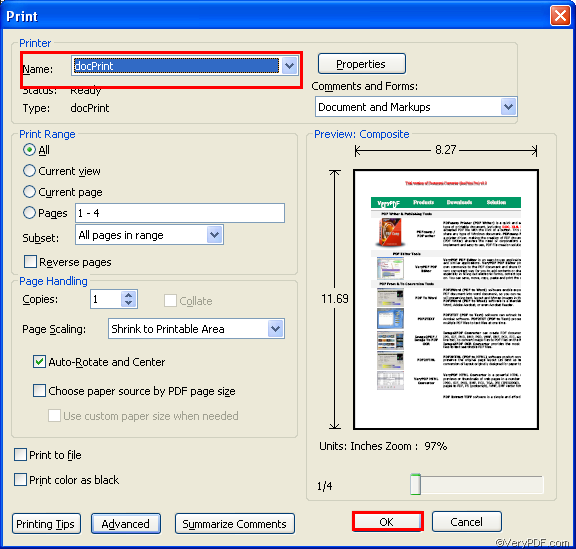
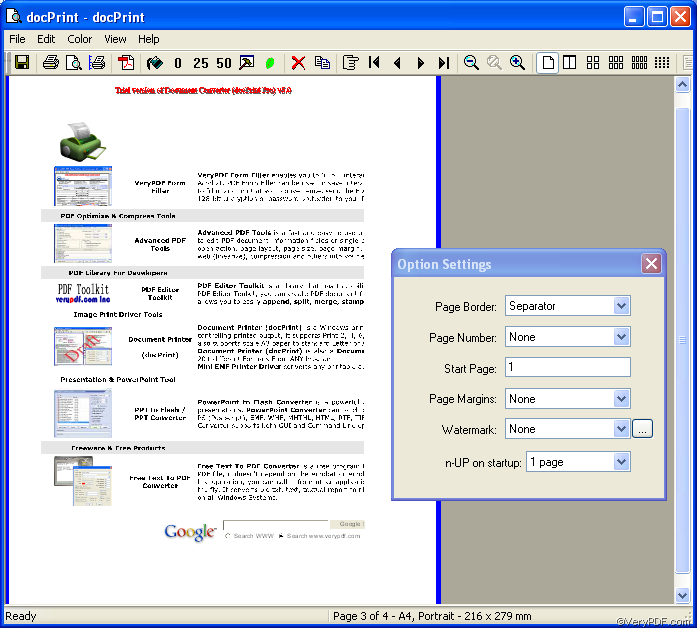
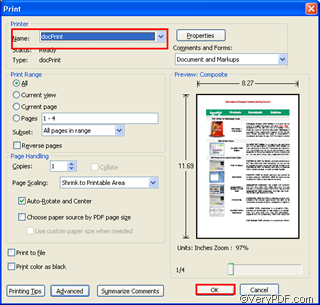
Press “Ctrl+P” to open the “Print” dialog box >choose “docPrint” in the printer “name” combo box >press “OK” to open the “docPrint” dialog box.
3 Open the “Annotated document” dialog box
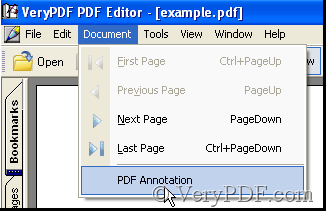
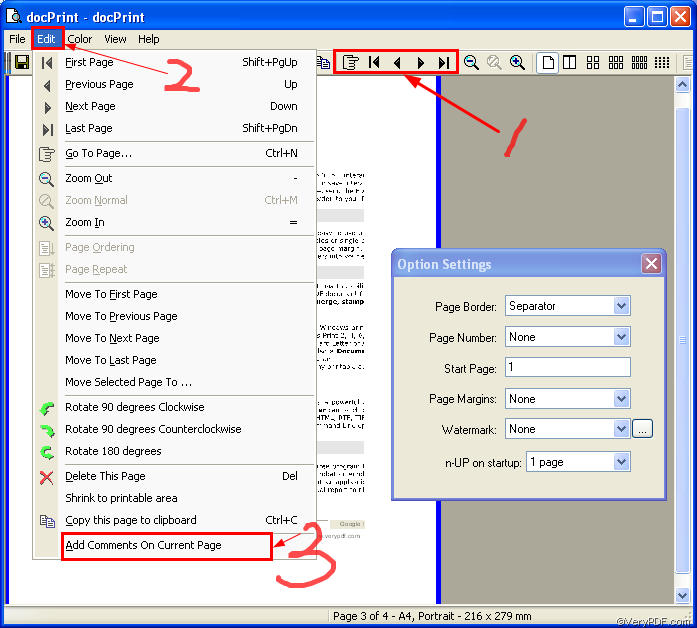
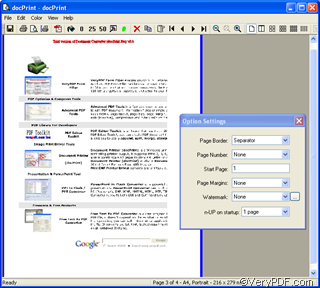
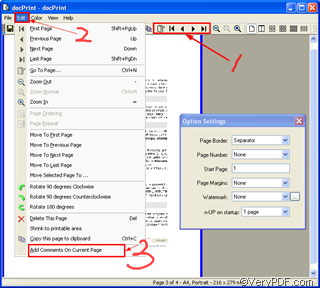
Click the arrow buttons on the toolbar to choose the page you want to add text comment and remember to click on it, otherwise the software does not know which page is the one you want to add text comment >Click “Edit” on the toolbar>Click “Add Comments on Current Page” on the drop down menu to open the“Annotated document”dialog box

 4 Trigger the comment buttons on the “Annotated document” dialog box
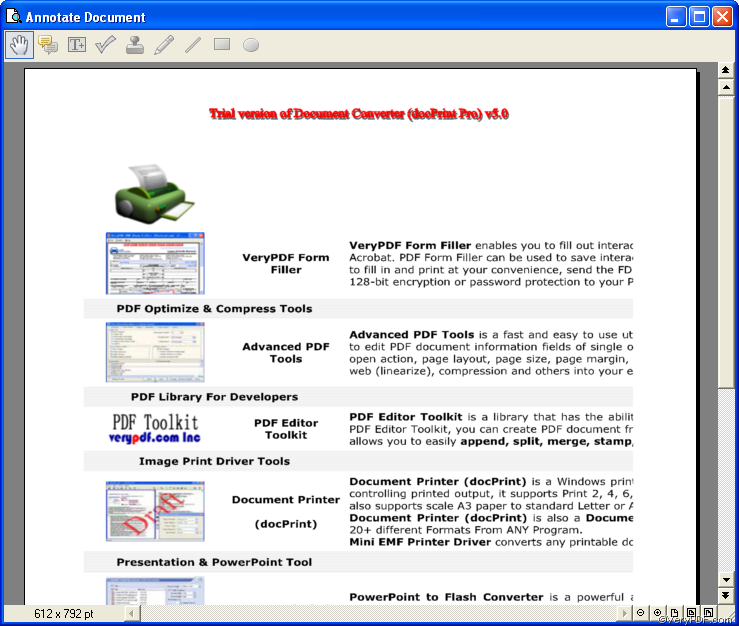
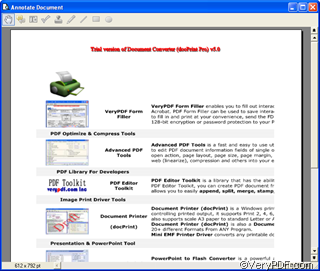
As you can see on the top of the “Annotated document” dialog box as illustrated above, there are nine buttons on the tool bar. The last seven button of which are comment buttons. You cannot add comment on the current page before these buttons change from gray to colorful.

To add text comment, you should click the second button to trigger the comment buttons at first. The following image shows the buttons after you click the second button.

5 Add text comment on the current page

5.1 Draw a text box
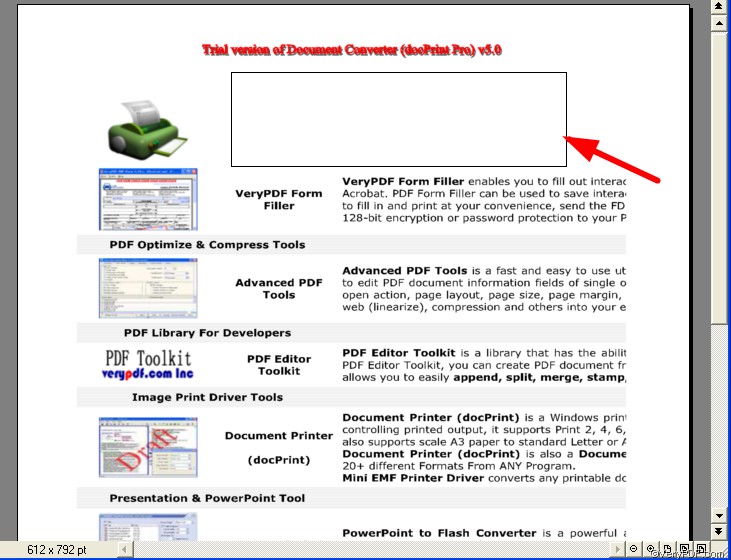
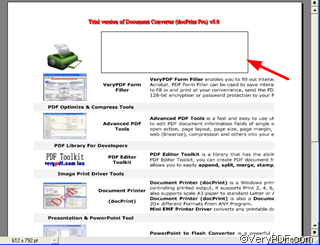
Click the “Add Text comment” button >keep pressing the left button with the mouse and drag a text box wherever you like on the page in the “Annotated document” dialog box.
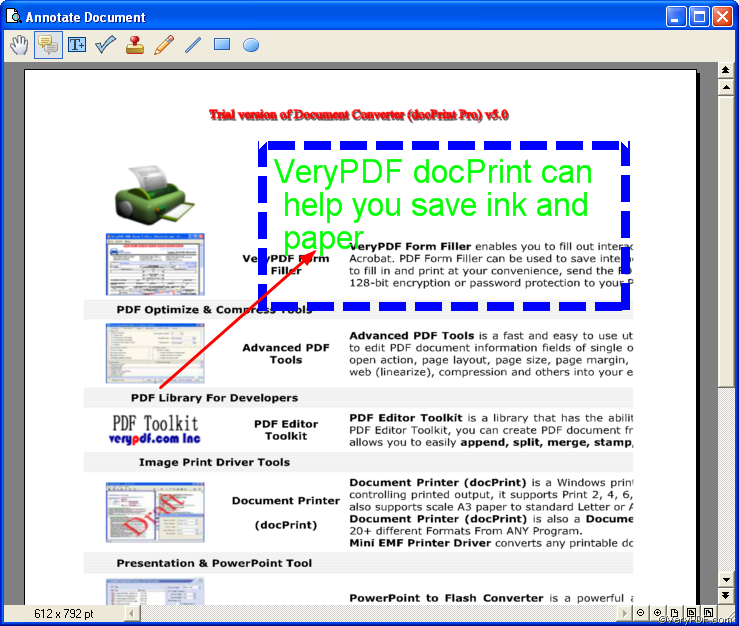
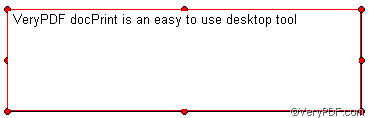
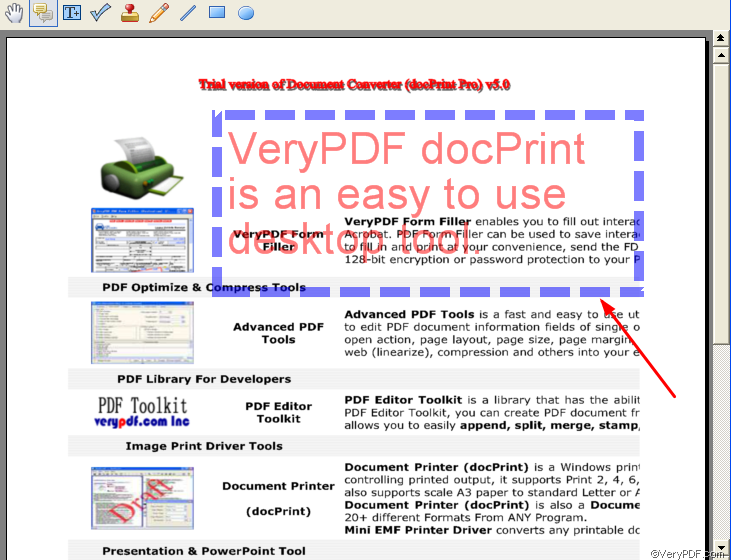
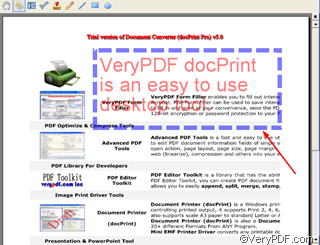
A text box as illustrated below will appear on the page.
5.2 Add text
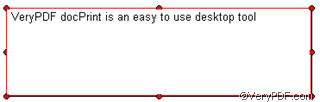
Double click with the mouse on the text comment box>type the text “VeryPDF docPrint is a easy to use desktop tool.”, for instance, in the text comment box >click on the place outside the text comment box, then the text comment is on the page.

In addition, if you want to change the text comment box size, please click on the border of the text comment box, and keep pressing the click to drag the box to the proper size you like.
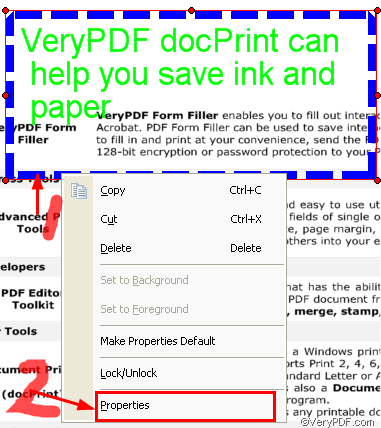
5.3 Modify the text comment
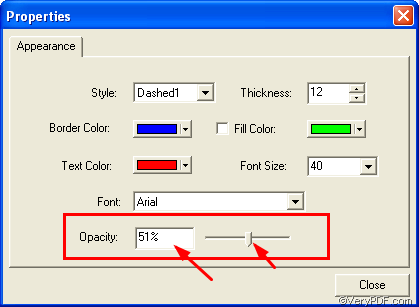
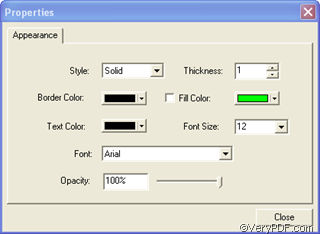
If you want to change the border color, border style, font size, text style, etc. of the text comment, you can set the related options on the “Properties” dialog box. Please follow the steps listed below:
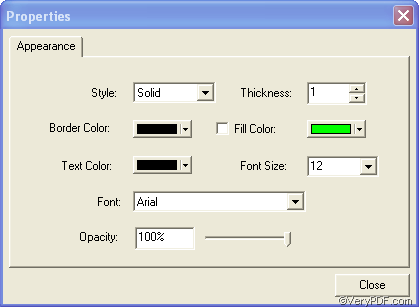
Click the border of the text comment box>right click with the mouse>choose “Properties” to open the “Properties” dialog box as illustrated below:
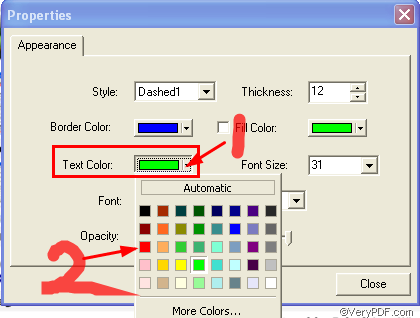
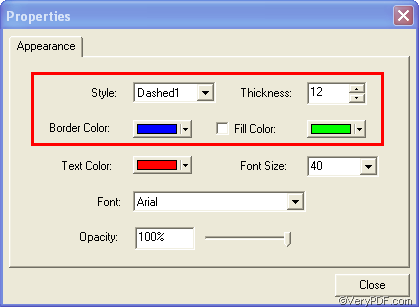
5.3.1 To change the border of the text comment box, you should set options in the first four combo boxes.
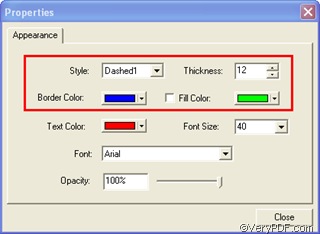
- To change the border style, you should select “Solid” or “Dashed 1” “Dashed 2”, etc. in the “Style”combo box as the border style. Here I choose “Dashed 1” as the border style.
- To change the border thickness, you should choose one number from “0” to “12”. If you don’t want to border, please choose “0”; if you want the boldest border, please choose “12”. Here I choose “12”.
- To change the color of the border, you can select the color you like in the “Border Color” combo box.
- To fill the comment box with color, you can click on the check box and then choose the proper color to be the background color of text. Here I choose green as the fill color.
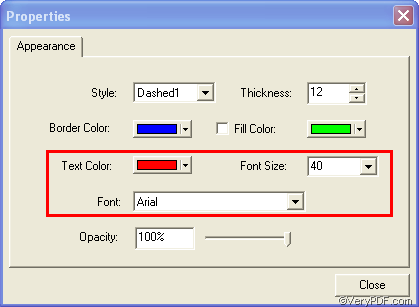
5.3.2 To modify the text, you should set the options in the next three combo boxes.
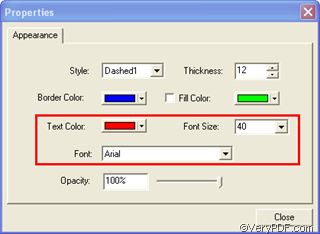
- To change the text color by choosing color in the “Text Color” combo box.
- To change the text size, you can specify the proper number as the text size in the “Font Size”.
- To change the font style, you can choose in the “Font” combo box
5.3.3 To make the border and text and fill color of the text comment box transparent, you can drag the control button to change the opacity. As you drag the button to the left, the opacity rate will reduce. Here I set 51% as the the opacity.

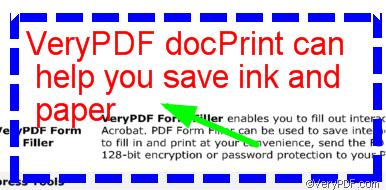
After you set all the options, click “Close” to close the “Properties” dialog box, a text comment will appear on the page as illutrated below .
To read more articles on how to add comment on the current page via VeryPDF docPrint, please go to visit https://www.verypdf.com/wordpress
VN:F [1.9.20_1166]
Rating: 0.0/10 (0 votes cast)
VN:F [1.9.20_1166]