PDF To Image Converter v2.1 may help you convert pdf to wmf with bigger dimension.
For WMF format, we just introduce it shortly here. WMF(Windows Metafiles) may contain both vector graphics and bitmap components. WMF is a 16-bit format, It is the native vector format usually for Microsoft Office applications.
Here are the details about how to convert pdf to wmf with bigger dimension.
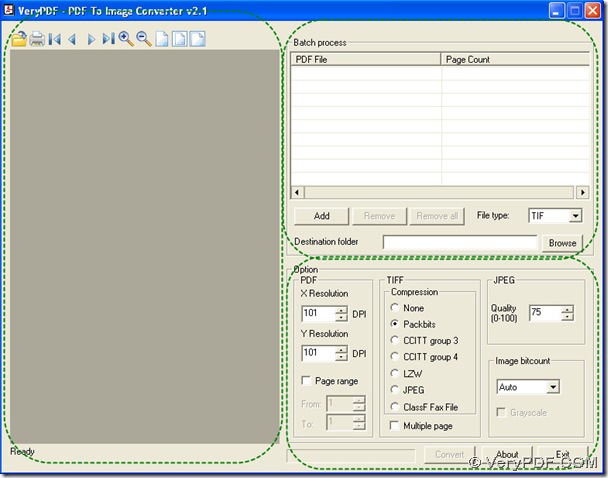
Step1. Launch PDF To Image Converter v2.1 to its interface, you can see there are 3 functional parts.
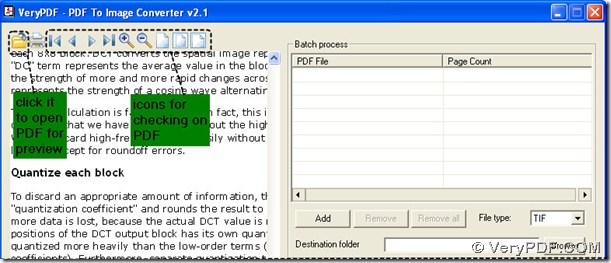
Step2. Look at the gray field in this interface, click ![]() icon>choose a PDF file>double-click it, you could preview it in the gray field. To preview it carefully, you can use the icons marked in the picture below.
icon>choose a PDF file>double-click it, you could preview it in the gray field. To preview it carefully, you can use the icons marked in the picture below.
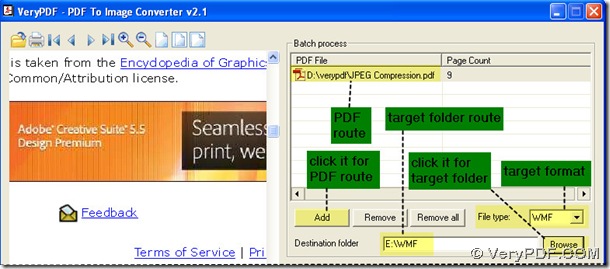
Step3. Look at batch process field, click “Add” button>choose that PDF file>double-click it, you will see its route under “PDF File”. Set your file type as WMF in the edit-box of “File type”. And click “Browse” button>select a target folder for your WMF>click “OK”, the route of this folder will appear in the edit-box of “Destination folder”.
Step4. Look at the field of DPI. DPI is short for Dots Per Inch. DPI is a measure of the quality of an image from a scanner or output resolution of a printer.
For raster images, the more dots per inch, the higher the quality will be but the larger the file size, the bigger the file dimension is, the slower it will process; but for vector images, which is made up of solids, lines and curves that can be scaled or edited without affecting image resolution, the more dots per inch, the bigger the file dimension is only.
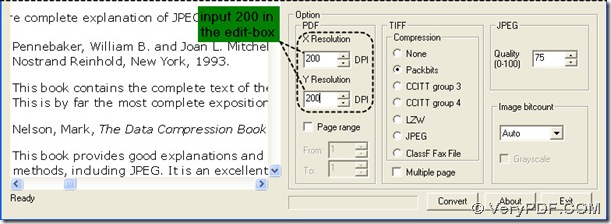
So here we increase the values of DPI from 101 to 200 or 300(commonly setting parameter for printers): click the edit-boxes of DPI>input 200 for each DPI, this will make your WMF bigger in dimension.
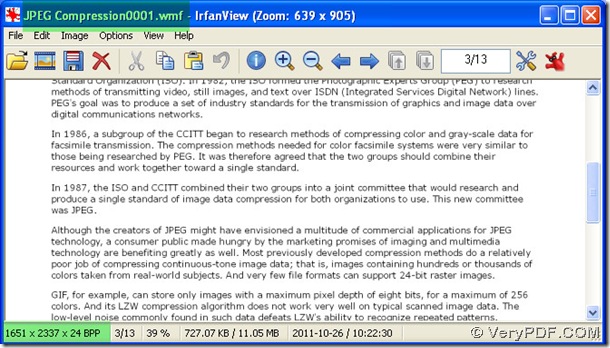
Step5. Process this converting from pdf to wmf in PDF To Image Converter v2.1 via clicking “Convert” button. Then shut down your converter. Here is the WMF image with bigger dimension.
