PCX is an image file format originated with ZSoft's MS-DOS-based PC Paintbrush. Sometimes, PCX is referred to as the PC Paintbrush format. It is one of the most widely used storage formats. It was the native file format for Personal Computer eXchange Paintbrush and became one of the first widely accepted DOS imaging standards. PCX is used in Microsoft Windows and Windows-based products but has found wide acceptance mainly in the MS-DOS world. It is mainly an exchange and storage format.
This article would like to introduce two methods to convert OpenOffice to PCX image.
Method 1
Convert a file of OpenOffice to PCX image via a document converter . Take VeryPDF docPrint Pro as an example:
Step1: Run VeryPDF docPrint Pro
Step 2: click “Add File(s)” , select “All Files(*.*)” in the combo box 0n the right of “Files of type”. Otherwise, you can not find the source OpenOffice document in the list box because the file extension “.odt” is not listed on the menu of “Files of type”.![]()
Then, select the file you want to convert from OpenOffice to PCX in the list box in the same dialog and click open to input it to the application.
Step 3: Click “Setting” to select “.pcx” as the output format in the dialog pops out. Click “OK” to finish setting options.
Step Click “Start” to select a directory for saving and to start converting from OpenOffice to PCX .
When the conversion is finished in seconds, you can view the effect of the PCX image as illustrated below:
Method 2
Convert OpenOffice to PCX via a printer like docPrint.
Step 1: Open the OpenOffice file
Step 2: Hit Ctrl and P at the same time on your keyboard to open a printer to convert OpenOffice to PCX.
Step 3: Select “docPrint” in the combo box on the right of “Name” in the Print dialog. Press “OK” .
Step 4: Click the little button ![]() on the left-up corner of the docPrint dialog. When the Save As dialog pops out, you should do as follows:
on the left-up corner of the docPrint dialog. When the Save As dialog pops out, you should do as follows:
- Select the directory you want save the pcx image in the combo box next to “Save in”.
- Select “All file(*.*)” in the combo box on the right of “Save as type”. This is because the extension name “.pcx” is not listed on the drop-down menu of the combo box.
- Type a file name with the file extension “.pcx” in the edit box on the right of “File name”. For example, you can name the file converted from OpenOffice to PCX as “docprint1.pcx” here. Then, click “Save”.
The conversion from OpenOffice to PCX will finish in seconds. The following screenshot shows the effect of the conversion from OpenOffice to PCX image :
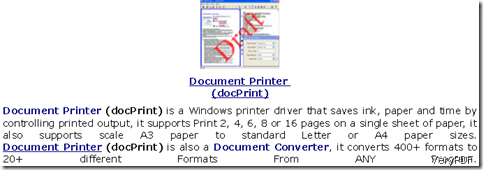
Now let’s enlarge the images for four times to see the effect of the words.
The first one which is a vector image is created by the all-to-all document converter docPrint Pro; while the second one which is a raster PCX is created by the printer docPrint.

