How to convert html to tga format?
We always see ".tga" on PC DOS/Windows systems and ".tpic" on Macintosh systems,the two extension name is stands for the format of TGA.TGA format stores image data with 1–32 bits of precision per pixel. Color data can be color-mapped, or in directcolor or truecolor format.
The webpage can be converted from html to tga if you use HTML Converter Command Line.HTML Converter Command Line allows you to convert web pages to PDF, PS (postscript), WMF, EMF vector formats only by some easy to learn commands.
You should make sure there’s a HTML Converter Command Line installed in your computer and have been registered.
Here are some steps for you to convert html to tga.
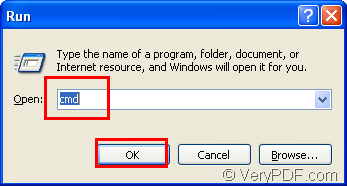
Step1.You must run cmd.exe.Click “start” – “run” and input “cmd” in “open” edit box.Then click “OK” button.Please look at figure1 and figure2.

figure1.
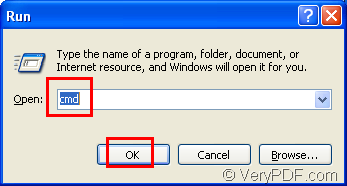
figure2.
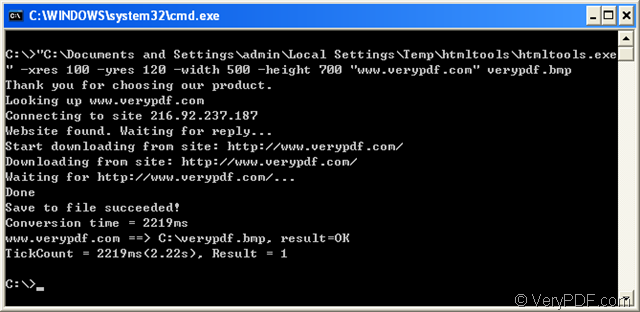
Step2.Input commands in cmd.exe dialog box.The commands include the called program,source file and target file.Please look at figure3.
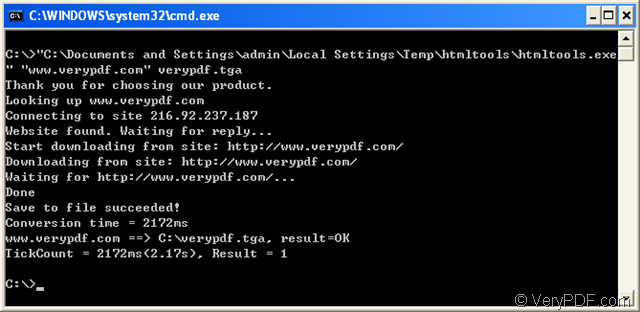
figure3.
All the commands are "C:\Documents and Settings\admin\Local Settings\Temp\htmltools\htmltools.exe" "www.verypdf.com" verypdf.tga
"C:\Documents and Settings\admin\Local Settings\Temp\htmltools\htmltools.exe" stands for the path of called program—htmltools.exe which is the executable file in HTML Converter Command Line.
“www.verypdf.com” stands for the source file,here is the URL of the webpage you want to convert from html to tga.
verypdf.tga stands for the target file.You should name your target file including the file name and extension name.
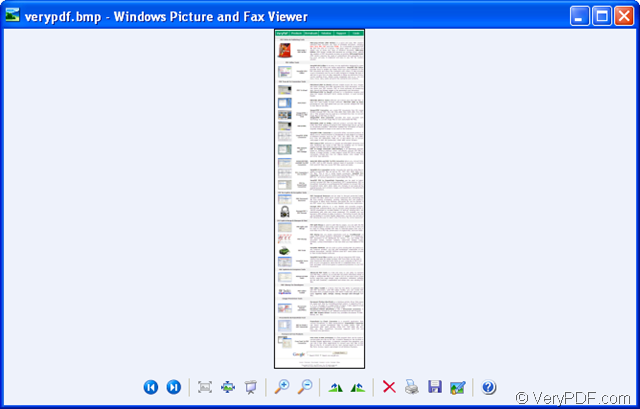
Step3.Then you can find the target file in C disk by default if there isn’t special settings for the directory after converting html to tga.Please look at figure4.
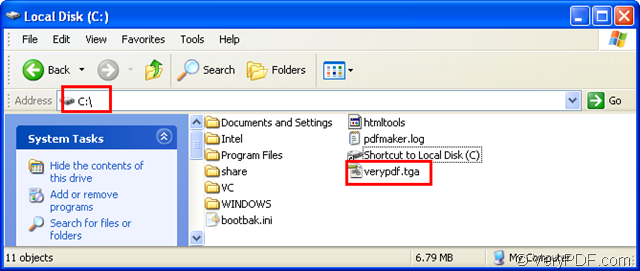
figure4.