Can PDF to Image Converter keep the font, font size, and font color in converting PDF to image?
dThe answer is absolutely YES. For your question, our converting tool-----PDF To Image Converter v2.1 can give you an perfect answer with steps in detail, you could refer to the following paragraphs:
First let us give you an example to convert pdf file to bmp image here.
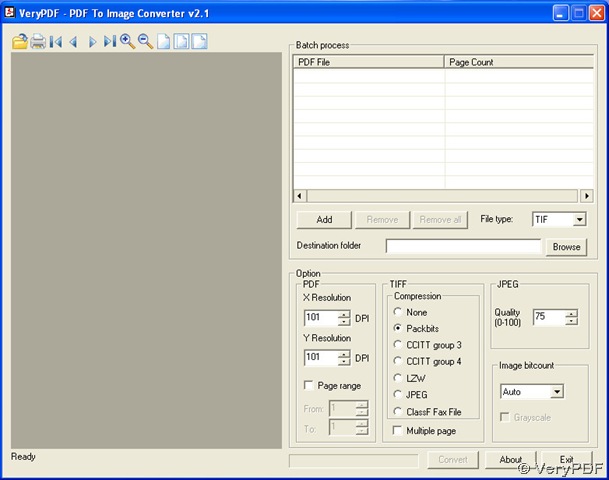
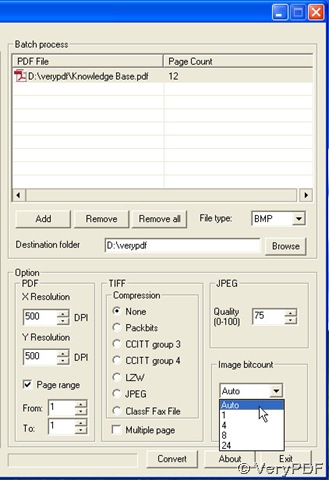
Step 1. Here it is an interface of PDF To Image Converter v2.1:
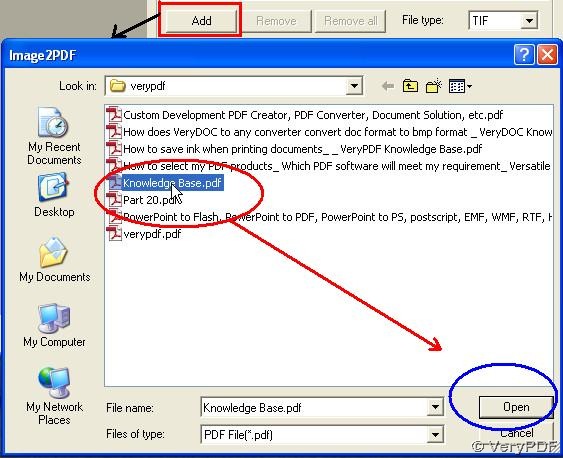
Click “Add” button on this panel and choose a pdf file in the window, then click “Open” button on the window interface, you can get the route easily, here are the relative pictures:
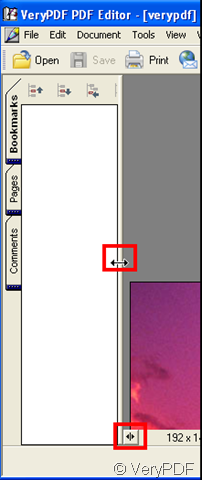
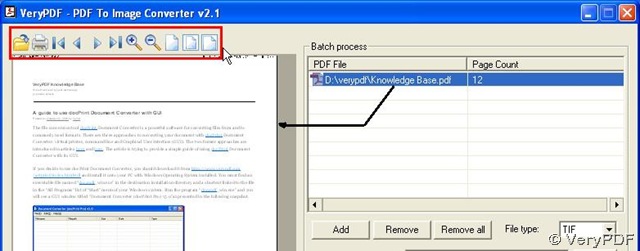
Step 2. Click the route above to activate ![]() and
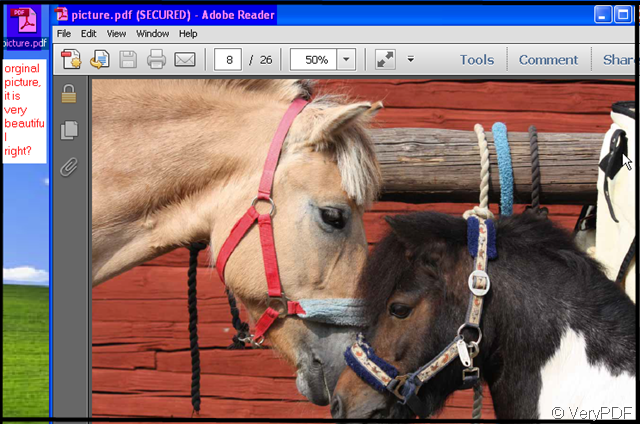
and ![]() buttons, to delete your pdf files. Meanwhile, the preview of your pdf file will come forth, too. Use series of icons above it to check whether there is error or not in your pdf file if you need to operate it or you can print your pdf file with pressing the icon
buttons, to delete your pdf files. Meanwhile, the preview of your pdf file will come forth, too. Use series of icons above it to check whether there is error or not in your pdf file if you need to operate it or you can print your pdf file with pressing the icon ![]() :
:
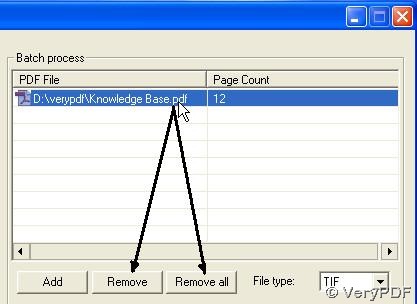
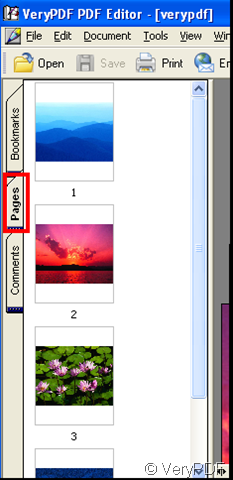
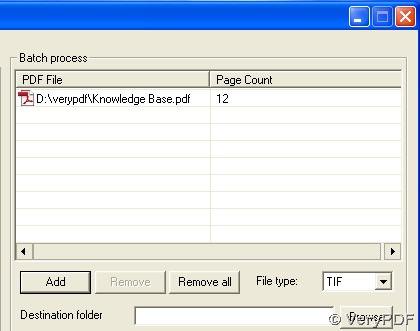
Step 3. In the picture above, we can see that under “Page Count” title, there is a number “12”, which is the reason why you have to activate “Page range” and set “12” as its value in “To” option that should be always not less than the largest number in “Page Count” if you want to get the whole pages like the ones in pdf file or just avoid activating “Page range” option. If you just want some of pages in your pdf file, you just need to set “From” and “To” options as the numbers which is the ones you need to have the range of them.
For example, if you need to have the pages of your pdf file from page 2 to page 5, you should set “From” as “2” and set “To” as “5” after you activate your “Page range”.
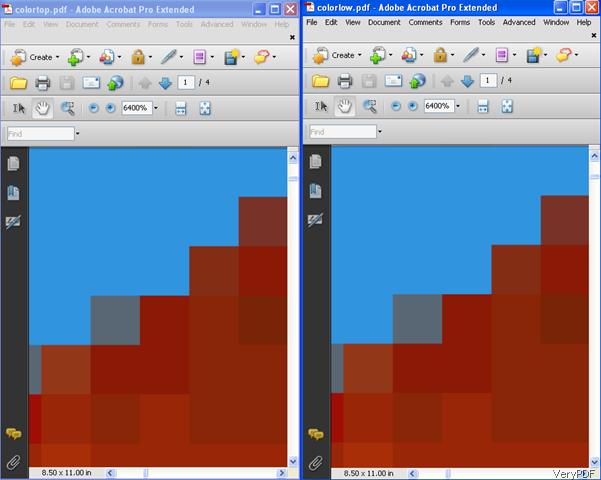
Here we just set “To” as “1” to get one image cause we just need to verify whether PDF to Image Converter v2.1 could keep the font name, font size, font color during PDF to image conversion or not.
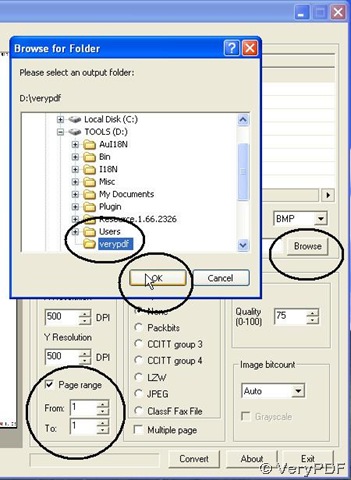
And click “Browse” button to get a space by choosing a folder in pop window with clicking “ok” button.
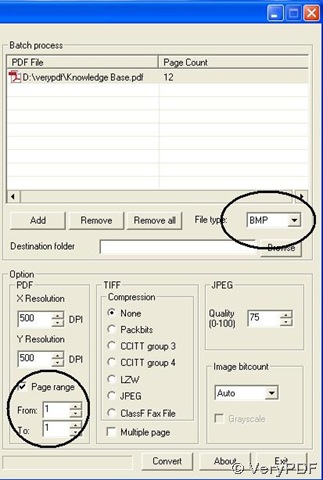
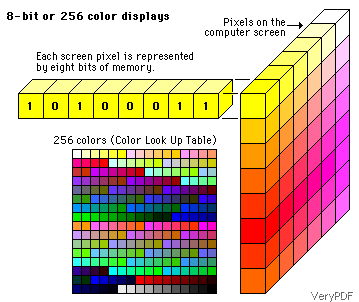
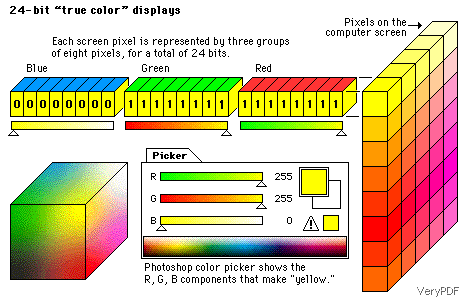
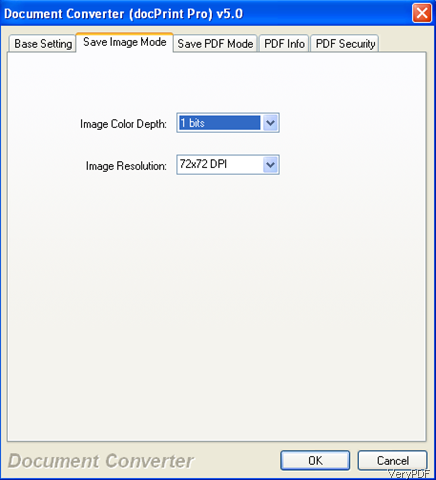
Step 4. Look at “Image bitcout” field this time in the last figure, which is the most important field for your question. If you want to get your image same as your pdf file except format, you should set “Auto” as your mode in this field at the same time do not change any other parameters again after you finish step 1,2,3 and 4 on this panel of PDF To Image Converter v2.1.
Step 5. Click “Convert” button to convert your pdf file to image file, your will get what you want.
Download PDF To Image Converter : https://www.verypdf.com/pdf2tif/pdf2image.exe; Get more details on PDF To Image Converter v2.1, click here: https://www.verypdf.com/app/pdf-to-image-converter/try-and-buy.html .