pdfcamp printer

How to print AutoCAD DWG file to PDF file?

PDFcamp Printer allows you to convert dwg to pdf easily and quickly. You can create a single merged PDF file from several DWG files according some skills or create an individual PDF file for each DWG file selected, many kinds of paper size is supported,too.

Now let me show you how to print dwg to pdf file with the help of PDFcamp Printer.

1.Open all the dwg format files you want to convert.

image

                                                         the first file

image

                                                          the second file

2.If you want to convert several single pdf files from dwg files,you can choose the one you want and click”file”—“print”.In the popping window you can click “Device Set”to change some parameter of the printer where you can select the paper size and orientation of course others in properties.Then save and name the file.

image

image 

You can do the same work to convert the left files.

3.But if you want to combine all the dwg files in one pdf file,you should do it like this.

After your successfully conversion one file,please open the second dwg file and print.In the “Save as”window,you should click the one you’ve just converted and click”Save”.You will see the following window.

image

You should check the third one”Append to the last page”and click “OK”.

At last,we can see their are two pages in the resulting pdf after converting dwg to pdf.

image

VN:F [1.9.20_1166]
Rating: 0.0/10 (0 votes cast)
VN:F [1.9.20_1166]
Rating: 0 (from 0 votes)
pdfcamp printer

How to create 128/40 bit password protected PDF documents?

Do you take a large sum of money in your pocket or bag when you are paying for an expensive goods?Just like a car or a house?No no!First,taking so much money will make you tired very much.Second,aren’t you in fear of thieves or robs?I’m afraid of them.But we can take a small card which can charge freely only by a password.

We need encryption almost everyday. For shopping, paying bills, banking online, and many other purposes. Encryption is an especially popular and effective technique for maintaining security.

About Encryption

Wikipedia says:Encryption is the process of transforming information (referred to as plaintext) using an algorithm (called cipher) to make it unreadable to anyone except those possessing special knowledge, usually referred to as a key.

What is the difference between 128-bits and 40-bits encryption?We can explain it at a word that they are two kinds of encryption level.40-bits is a low level encryption which can be forced to break,while the 128-bits is a high level one which can not be broken easily.

Of course when you use PDFcamp Printer to convert files to pdf,you can encrypt it either in 40-bits or 128-bits only by setting security parameter.

In properties of print,you can see an item named “Security”which you should click.

image

You can choose 40-bits or 128-bits in Encryption level and you also can choose “Encrypt once”or “Encrypt for ever”.Remember your password of open document and change document,then click OK.

Using PDFcamp Printer,you can encrypt your pdf easily,I think.

VN:F [1.9.20_1166]
Rating: 0.0/10 (0 votes cast)
VN:F [1.9.20_1166]
Rating: 0 (from 0 votes)
html converter (htmltools)

How to create a thumbnail for emf image?

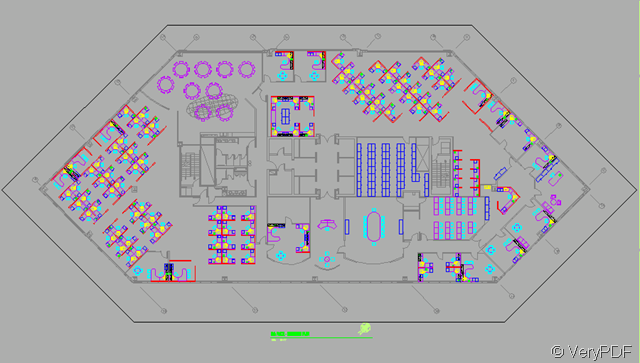
If you are running a website and need to present pictures or figures on it, and, if you are making html pages to display arrays of images, you must need a tool to create thumbnails for your large size original images. As you know, downloading larger pictures and rendering them with clients’ web browsers need higher bandwidths and longer time, and images in larger sizes are not suitable for arranging into one space-limited html page,  so we always need to create thumbnails for those original images and store them in any formats. You can drive the VeryPDF HTML Converter Command Line to achieve your aims.

Here are some examples telling you how to create a thumbnail for emf images and store it in png, jpg, or gif formats, respectively.

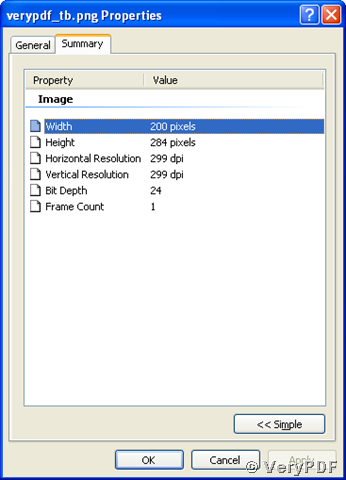
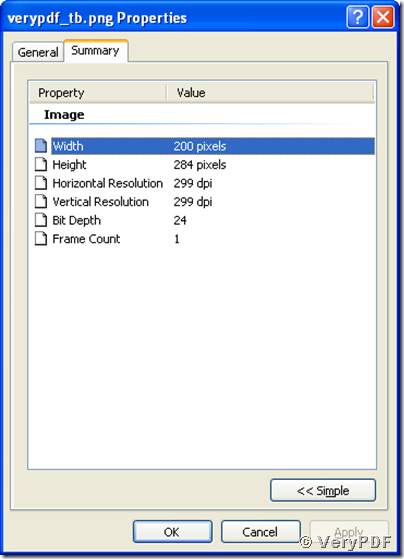
1, To create a thumbnail of width 200 pixels and stored in png format for an emf image, you can call these commands in your MS-DOS command prompt window:

D:\htmltools\htmltools.exe -width 200 D:\htmltools\verypdf.emf D:\htmltools\verypdf_tb.png <Enter>,

in which “D:\htmltools\htmltools.exe” is the path and name of the tool, “D:\htmltools\verypdf.emf” is the name of the source image in emf format and “D:\htmltools\verypdf_tb.png” specifies the path and name for storing the created thumbnail. The arguments 200 that following the option string “width” determines the width of newly created thumbnail in unit of pixel. With changing the width, the height is automatically changed to keep the height-width-ratio maintaining the same as the original emf image. You may use your width arguments by changing the argument of width 200 into any preferred integer numbers while creating the thumbnail.

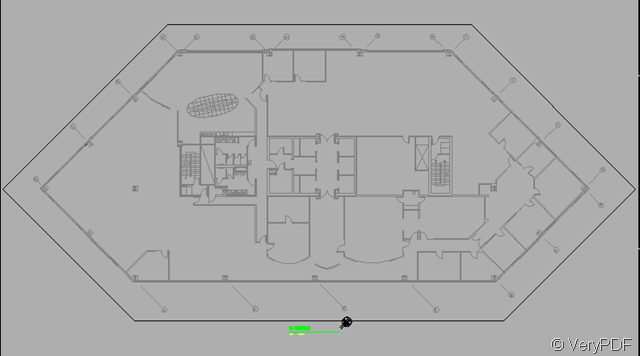
After executing those commands mentioned above, a new thumbnail has been created and stored in png format with width of 200 pixels as shown in the following snapshot:

image

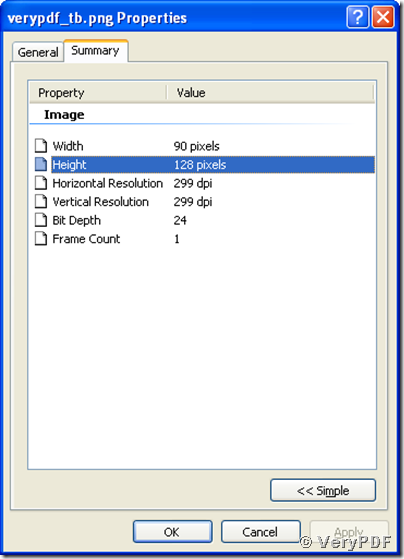
You can also use the option string “-height” with argument 128 to specify the height of 128 pixels while creating a thumbnail. Here below are the commands for creating a thumbnail with height of 128 pixels for an emf file and being stored in png format:

D:\htmltools\htmltools.exe -height 128 D:\htmltools\verypdf.emf D:\htmltools\verypdf_tb.png <Enter>,

where “-height 128” specifies the width of created thumbnail. The following snapshot clearly shows that the thumbnail in png now has a width of 128 pixels:

image

2, The commands for creating a thumbnail stored in jpg format with width of 256 pixels for an emf image:

D:\htmltools\htmltools.exe -width 256 D:\htmltools\verypdf.emf D:\htmltools\verypdf_tb.jpg <Enter>,

where “-width 256” sets the width of the created thumbnail being 256 pixels, and “.jpg” as an extension name of the thumbnail tells the tool to store the thumbnail in jpg format.

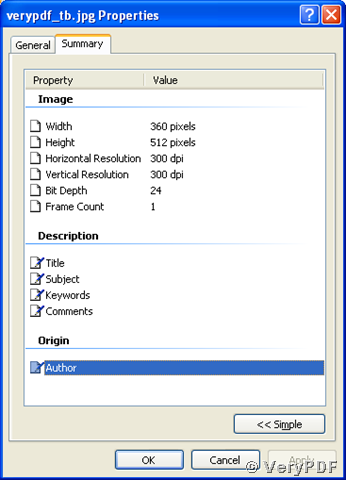
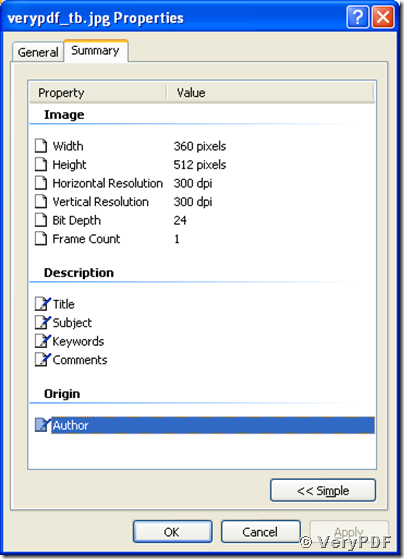
With changing the option “-width” into “-height” and the argument “256” into “512”, you can store your new thumbnail with height of 512 pixels:

D:\htmltools\htmltools.exe –height 512 D:\htmltools\verypdf.emf D:\htmltools\verypdf_tb.jpg <Enter>.

The snapshot of the property information of the thumbnail shows that the height is now 512 pixels:

image

3, The commands for creating thumbnails being stored in gif format with width of 256 pixels and height 512 pixels, respectively:

D:\htmltools\htmltools.exe -width 256 D:\htmltools\verypdf.emf D:\htmltools\verypdf_tb.gif<Enter>,

and

D:\htmltools\htmltools.exe –height 512 D:\htmltools\verypdf.emf D:\htmltools\verypdf_tb.gif<Enter>.

4, If you want to specify both the width and height ignoring keeping the height-width-ratio while creating the thumbnail, please use both the options “-width” and “-height” in your commands, like these:

D:\htmltools\htmltools.exe -width 256 –height 512 D:\htmltools\verypdf.emf D:\htmltools\verypdf_tb.png<Enter>,

D:\htmltools\htmltools.exe -width 256 –height 512 D:\htmltools\verypdf.emf D:\htmltools\verypdf_tb.jpg<Enter>,

and

D:\htmltools\htmltools.exe -width 256 –height 512 D:\htmltools\verypdf.emf D:\htmltools\verypdf_tb.gif<Enter>.

In every command line, the integer numbers following each “-width” and “-height” are for setting the width and height of the created thumbnail.

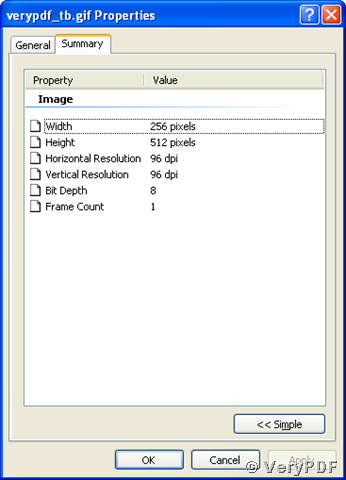
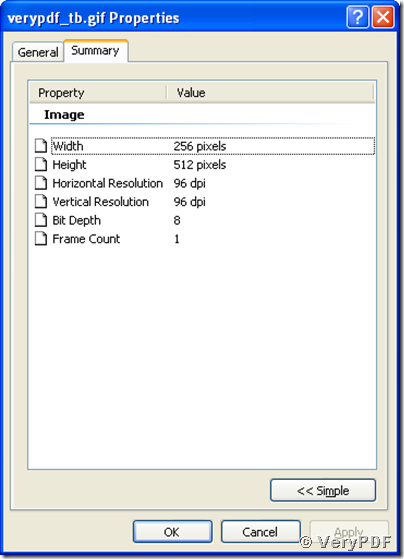
The following snapshot is the property information of created thumbnail in gif format displaying that the width is 256 pixels and height 512 pixels.

image

VN:F [1.9.20_1166]
Rating: 0.0/10 (0 votes cast)
VN:F [1.9.20_1166]
Rating: 0 (from 0 votes)
pdfcamp printer

How to do when missing some kinds of fonts after converting RTF to PDF

You may see a popping window when you finished converting rtf to pdf just like the following one.

image

The window asks you to pay attention that the encoding specified by a font is miss.

Why it will happen and how to resolve this problem?

In PDFcamp Printer properties,there is an item named “Font Embedding” which you should have a look.In rtf to pdf conversion,you should set this important parameter to ensure your resulting pdf perfect.

image

You can see there are many kinds of fonts available.When we converting rtf to pdf files,maybe some fonts can not be supported in the resulting pdf file.But if we embed some fonts in the PDFcamp Printer,the problem will be easy.You can choose the fonts you need then click”Add”,and you also can remove the fonts.Of course,the best way is adding all by checking “Embed all fonts”.

image

Then click “OK”and save the file.

image

Now we can see a new pdf file without any problems.

VN:F [1.9.20_1166]
Rating: 0.0/10 (0 votes cast)
VN:F [1.9.20_1166]
Rating: 0 (from 0 votes)
pdfcamp printer

How to print RTF file to PDF file?

Doc is a kind of useful format which is used widely by companies,schools,governments and others.But sometimes some problems come out.For example,a same doc format document will change in another word version such as from word 2000 to word 3003 or 2007.But the rtf format can resolve the problem well.Because rtf format has lots of advantages, the main of which is its wide support by all major text editors. It ideally suits for sharing text information between different programs and platforms.

But if someone want to protect rtf format document from copying or editing, converting rtf to pdf is necessary. Another advantage to pdf is requiring even less memory space than in rtf. PDFcamp Printer is an excellent software that can convert rtf to pdf by the following steps:

  1. Changing page format (paper size and orientation are customizable);
  2. Converting each page to separate PDF file;
  3. Setting Security parameter.

image

4. Setting Doc information.

image

After conversion,the password window will pop up which you should input the enter password you have just set in.

image

If followed the tips above,you have finished converting rtf to pdf.

VN:F [1.9.20_1166]
Rating: 0.0/10 (0 votes cast)
VN:F [1.9.20_1166]
Rating: 0 (from 0 votes)