People usually use passwords and watermarks to protect their documents. Both methods have their advantages. To cite watermarks as an instance, if a publisher adds a watermark on each page of his documents, it would be very hard for others to abuse the content of the documents.
VeryPDF supports users to add and edit watermarks on documents in docPrint preview application. In the preview application, you can change the watermark content, change the color of watermarks, etc.. To download VeryPDF docPrint or get the latest information about VeryPDF docPrint, please visit https://www.verypdf.com/artprint/index.html. In the following part of the article, I would like to show you how to change watermark content on documents like a PDF file.
Skip to step 4, if you are in the Watermark Options dialog box; otherwise, you’d better start from step 1.
Step 1: Open the document.
Since in this article, we take a PDF file as an example, we should open the PDF file in Adobe. For another instance, if your document is a Word or an Excel, you can use MS Office to open it.
Step 2: Run docPrint
Press Ctrl+P, then a Print dialog box will pops out> select docPrint as the printer in the Print dialog box > press OK to run docPrint dialog box.
Step 3: Open the Option Settings dialog box
Normally, you can just skip to the next step, because when you open the docPrint dialog box, the Option Settings dialog box will appear on the computer screen at the same time. However, in case you don’t know how to open the Option Settings dialog box again after you close the Option Settings dialog box during the process, I would like to introduce how to open the Option Settings dialog box here: click View > Show/Hide Options to open the Option Settings dialog box .
Step 4 Change watermark content
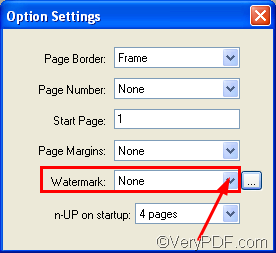
There are two ways to change watermark content on your document: you can select an option in the Watermark combo box in the Option Settings dialog box, or type the content you like in the edit box in the Font dialog box.
4.1 Select watermark content options
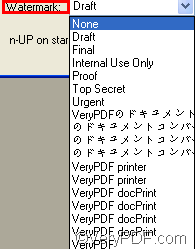
In the Option Settings dialog box , when you click the arrow on the Watermark combo box, a menu will appear on the screen. As you can see on the menu as illustrated as following, there are some default watermark content listed. You can choose anyone to add on the document.
4.2 Type a watermark
4.2.1 Open the Watermark Options dialog box
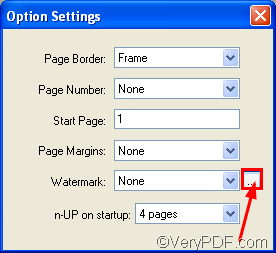
Click the button on the right of the Watermark combo box to open the Watermark Options dialog box, where you can change the content, color, size of watermarks.
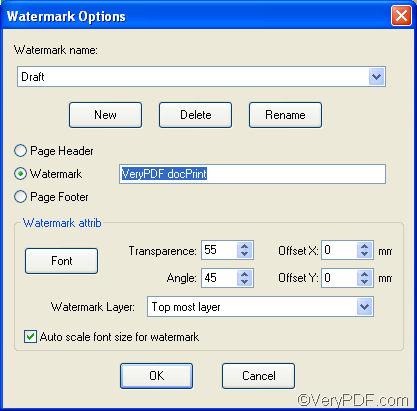
4.2.2 Change the watermark content
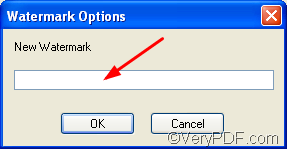
Click the New button in the Watermark Options dialog box to open the little dialog box as illustrated below> type the content in the edit box> click OK to close the little dialog box.
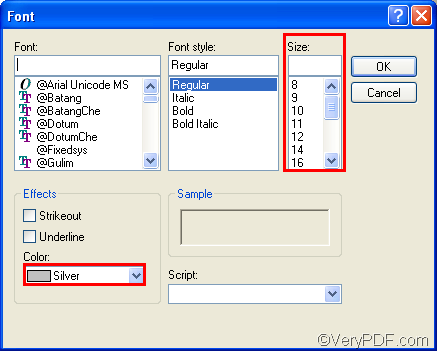
4.2.3 Change the watermark color
Click the Font button in the Watermark Options dialog box to open the Font dialog box> select red as the watermark color in the Color combo box> select 72 as the watermark size in the Size combo box.>OK in the Font dialog box > OK in the Watermark Options dialog box
Step 5 view the effect of the watermark content change
Before:
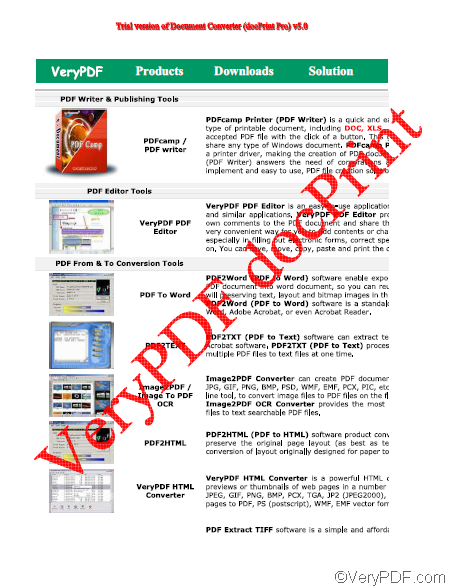
After: