pdfcamp printer

How to use ZIP compression for image streams in PDF Printer?

A ZIP file is simply a file filled with information, data or documents that have been through a compression process to minimize the size of the files making them quicker to download, easier to archive and more likely to be received via electronic mail because the compressed format takes up less storage space and uses fewer system resources.

It is easy to make a zip file by PDFcamp Printer and you don’t need to know anything about HTML code. There are no interface concerns. Basically, you just open the program and follow the instructions I give to you to create a zip file. You name the file and choose where you want it to be stored in your system.

The following snapshots will be a course for you to learn how to use ZIP compression when print documents to pdf files by using PDFcamp Printer,which is easy to master.

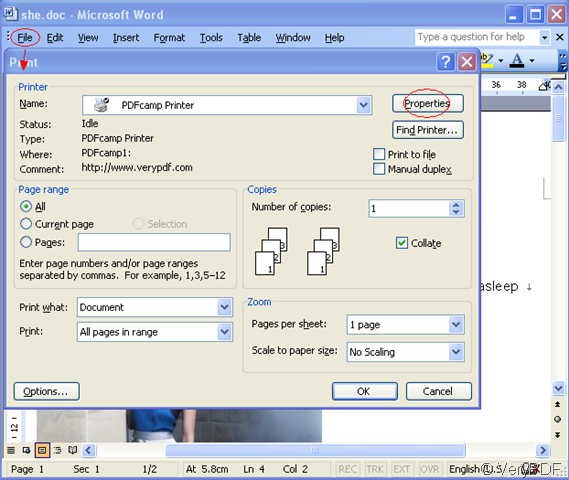
Step1.Click “file”—“print”—“properties”.

image

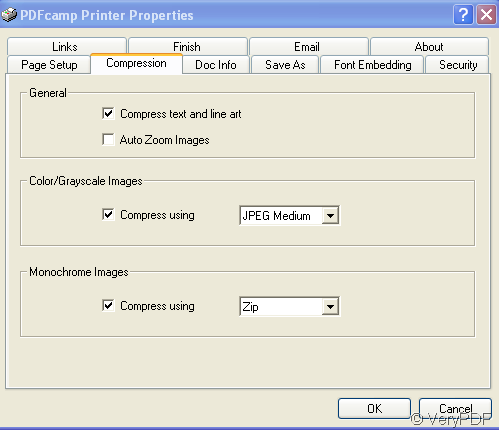
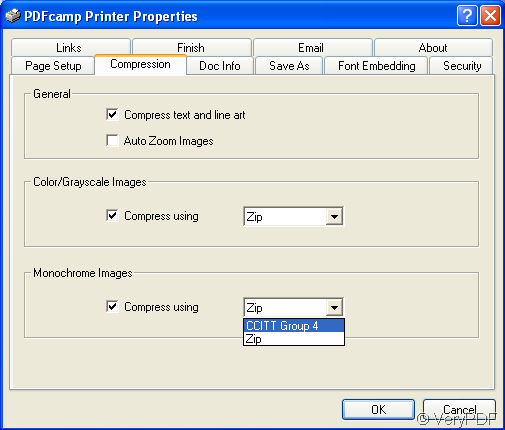
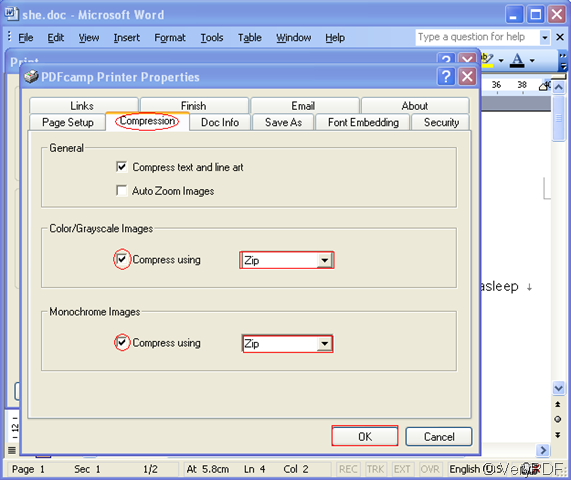
Step2.Click “Compression” in properties and check “compress using” and select “Zip”in dropdown lists and click “OK”.

image

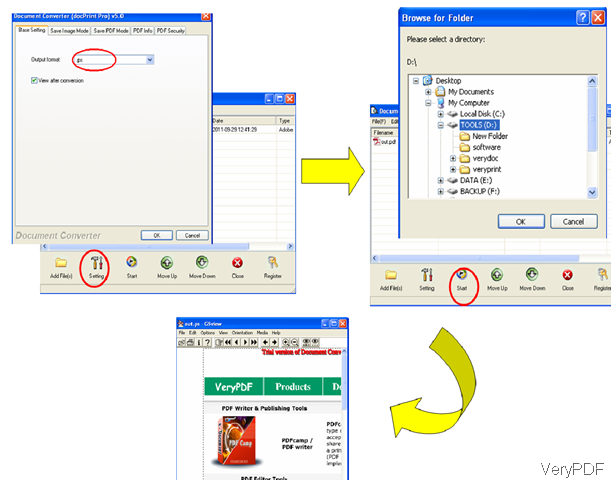
Step3.Save your file in some folder you like and name the new file.Then click”save”.

image

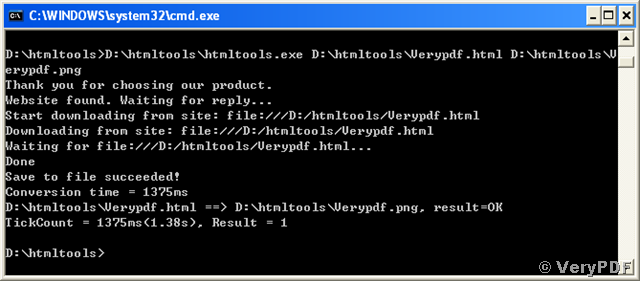
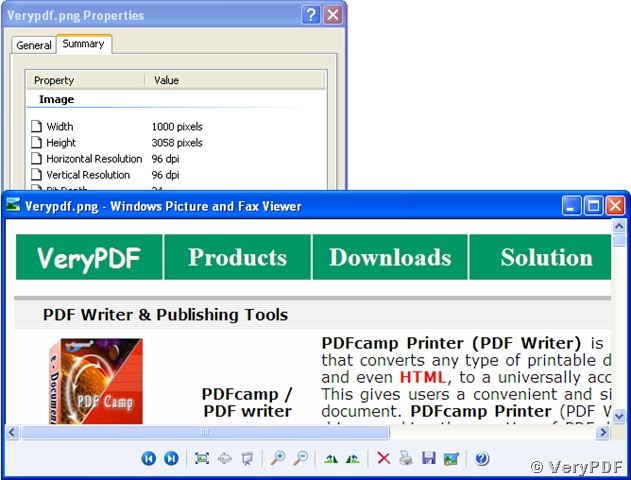
You can see the new pdf file generated by PDFcamp Printer.If the size of original document is big,you will find it will be smaller after printing.

VN:F [1.9.20_1166]
Rating: 0.0/10 (0 votes cast)
VN:F [1.9.20_1166]
Rating: 0 (from 0 votes)
pdfcamp printer

How to use JPEG compression for color image streams in PDFcamp Printer?

The aim of Jpeg compression is to take full-color (and gray-scale) "real-world" scenes and reduce the file size of images for storage and transmission. While capacity and bandwidth have improved dramatically over the last decade, the increased size of images make Jpeg still relevant for digital camera users and websites.

PDFcamp Printer can minish your file size through an important function in properties and I can show you how to use it.

You can insert full-color or gray-scale images in your original file and press the hot key “Ctrl”+”P” or click “file”—“print”.

Then click”properties” in which you should open the “compression” item to check compress use of “Color/Grey Scale Images” and select “JPEG Medium” in the combo box.

image

At last you can click “OK” and save the new file in a location of your computer.

The ultimate aim of using JPEG compression in PDFcamp Printer is to make the size of your pdf file smaller and smaller,which is easier to open,buffer,store and transfer.

VN:F [1.9.20_1166]
Rating: 0.0/10 (0 votes cast)
VN:F [1.9.20_1166]
Rating: 0 (from 0 votes)
docprint pro

How to convert Excel to Postscript?

There are various ways for you to convert Excel to Postscript. Here I recommend you to use a document converter such as VeryPDF document converter (docPrint Pro) V5 to solve this problem. The following steps will show you how to do it.

Step 1: Run VeryPDF docPrint Pro. If you don’t have one installed in your computer, you can download this software from https://www.verypdf.com.

Step 2: Drag the Excel file you want to convert to the list box

Step 3: Click the “Setting” button and go to select “.ps”, the file extension of Postscript, on the menu of “Output Format”. Moreover, if you want to don’t want to view the Postscript file after conversion, you can cancel it by click on the checkbox on the left of “view after conversion”, because the software will open the file by fault.

Step 4 Click “Start”, and select the directory to save the Postscript file. It will take you a few seconds to convert Excel to Postscript. After conversion, the outputting Postscript file will automatically open. 

image

VN:F [1.9.20_1166]
Rating: 0.0/10 (0 votes cast)
VN:F [1.9.20_1166]
Rating: 0 (from 0 votes)
pdfcamp printer

How to use CCITT Group4 compression for the black and white image streams in PDF Printer?

What is CCITT Group4?

Many facsimile and document imaging file formats support a form of lossless data compression often described as CCITT encoding. The CCITT (International Telegraph and Telephone Consultative Committee) is a standards organization that has developed a series of communications protocols for the facsimile transmission of black-and-white images over telephone lines and data networks. Group 4 is a protocol for sending fax documents over ISDN networks.

In brief,CCITT Group4 is a kind of compressing algorithm which can compress monochrome images in a smaller size.

If there are many black-and-white images in your document which you want to print to pdf file,it will be a big size generated file after conversion.So the best way is to compress them into a smaller size one by some algorithm.In PDFcamp Printer,you can compress all black-and-white images through CCITT Group4 algorithm and you can master the way by following me.

1.Open your file and press “file” and “print”.

2.In properties you should find the item”Compression”.In Monochrome Images(black-and-white)item please check “compress using”and select CCITT Group 4 in the dropdown list beside.Then click”OK”.

image

3.Save and name your generated file.

If there are a lot of black-and-white images in your original file,the compressed generated pdf file will be smaller in size than the uncompressed one by using PDFcamp Printer.

VN:F [1.9.20_1166]
Rating: 0.0/10 (0 votes cast)
VN:F [1.9.20_1166]
Rating: 0 (from 0 votes)
html converter (htmltools)

How to convert a document of html to png image?

PNG is the extension name of the digital image format Portable Network Graphics. As what its name implies, PNG is created specially for sharing and presenting digital images on the Internet. For GIF format was also designed for the Internet usage, PNG was developed for replacing GIF format because PNG standard does not need a patent license. For funny, PNG sometimes stands for “PNG is Not GIF”. PNG supports 8-bit and up to 64-bit colors while GIF just supports 8-bit colors. In addition, PNG supports a higher level of image transparency than GIF does. PNG currently is widely used in open source projects and the Internet image displaying.

You can convert a document stored in html to png image using one function of the tool VeryPDF HTML Converter Command Line. The powerful tool supports running in MS-DOS command mode. You can type the following commands into the command prompt window to convert the html to png.

D:\htmltools\htmltools.exe D:\htmltools\Verypdf.html D:\htmltools\Verypdf.png <Enter>.

In the lines, “D:\htmltools\htmltools.exe” launches the executable tool and “D:\htmltools\Verypdf.html” specifies the name of source document. “D:\htmltools\Verypdf.png” indicates the path and name for the output converted image and the target format of the conversion.

After hitting the Enter of your keyboard, you should see a similar command prompt window like the following screen snapshot:

image

The prompt tells you that your document is converted from html to png and output with specified file path and name successfully.

The default resolution of converted image for this case is 96 dpi and the width and height are dependent on the width and height of your html document.

image

VN:F [1.9.20_1166]
Rating: 0.0/10 (0 votes cast)
VN:F [1.9.20_1166]
Rating: 0 (from 0 votes)