VeryPDF HTML Converter Command Line is a professional software application which can convert EMF files to files in different formats, including GIF, PS (Postscript), TIF, TIFF, JPG, JPEG, PNG, etc. It also allows users to set color depth, which is the number of bits used to represent the color of a single pixel in a bitmapped image or video frame buffer. VeryPDF HTML Converter Command Line is available at the following website https://www.verypdf.com/htmltools/htmltools.zip.
To set color depth and convert EMF to GIF via a command line, you should take three steps: run the command prompt window, type a command line and press “Enter”. The command for color depth setting is -bitcount <int>. The following will introduce how to use a command to set color depth and convert EMF to GIF step by step.
1. Run the command prompt window
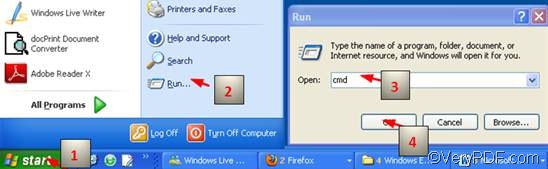
With regard to the way to run the command prompt window, the most commonly used way requires four steps: click “Start” > click “Run” > enter “cmd” in the “Open” edit box in the “Run” dialog box that pops out; >click on “OK”. When the black and white command window appears on the computer screen, you can proceed to the next step.
2. Type a command line
The command line should consist four parts as illustrated in the following command line pattern:
htmltools -bitcount <int> <EMF file> <GIF file>
- htmltools represents the executable file, which, to be more specific, is htmltools.exe in the folder titled htmltools in your computer.
- -bitcount <int> is the command that can be used to set color depth for image conversion. int stands for integer, which only allows 1, 8 and 24 as the parameter values in this command. The Angle brackets do not appear in the command prompt window, but are used to mark the essential contents.
- <EMF file> stands for the input file in EMF format.
- <GIF file> represents the output file in GIF format.
When you enter a command line in the command prompt window, the directories of the executable file, the original file and the output file are all required to appear. Otherwise, the computer can’t recognize the files.
To make it easier for you to understand, you can enter a command like the following one:
D:\htmltools\htmltools.exe -bitcount 24 D:\in\dog.emf D:\out\dog.gif
In the command line above,
- D:\htmltools\htmltools.exe is the directory of the executable file named htmltools.exe, which is placed in the folder called htmltools by default. In this example, this folder is placed on disc D.
- -bitcount 24 is the command that specifies 24-bit as the color depth for the output file converted from EMF to GIF. The number can be replaced by either 1 or 8.The higher the color depth, the more colors appear in the image.
- D:\in\dog.emf is the directory of the input EMF file. It leads the computer to find the input file named dog in the folder in on disk D.
- D:\out\dog.gif represents the directory of the output file. It specifies GIF as the format of the output file, names the output file as dog, and indicates to export the output file in the folder named Out on disk D.
You can replace the directories of the executable file, the input file and output file in the example with the directories of the files in your computer respectively.
3. Press “Enter”
Press “Enter” on the keyboard, and you can check the effect of conversion from EMF to GIF in no more than a second. The following can show you the original EMF file, and the files converted from EMF to GIF via command line.
The original EMF file

1-bit GIF file
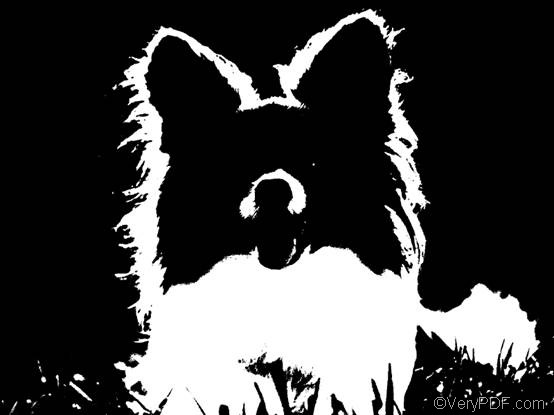
8-bit GIF file

24-bit GIF file